Here is Exactly What to Do With Your Parents’ Photos
As an Amazon Associate and member of other affiliate programs, I earn from qualifying purchases.
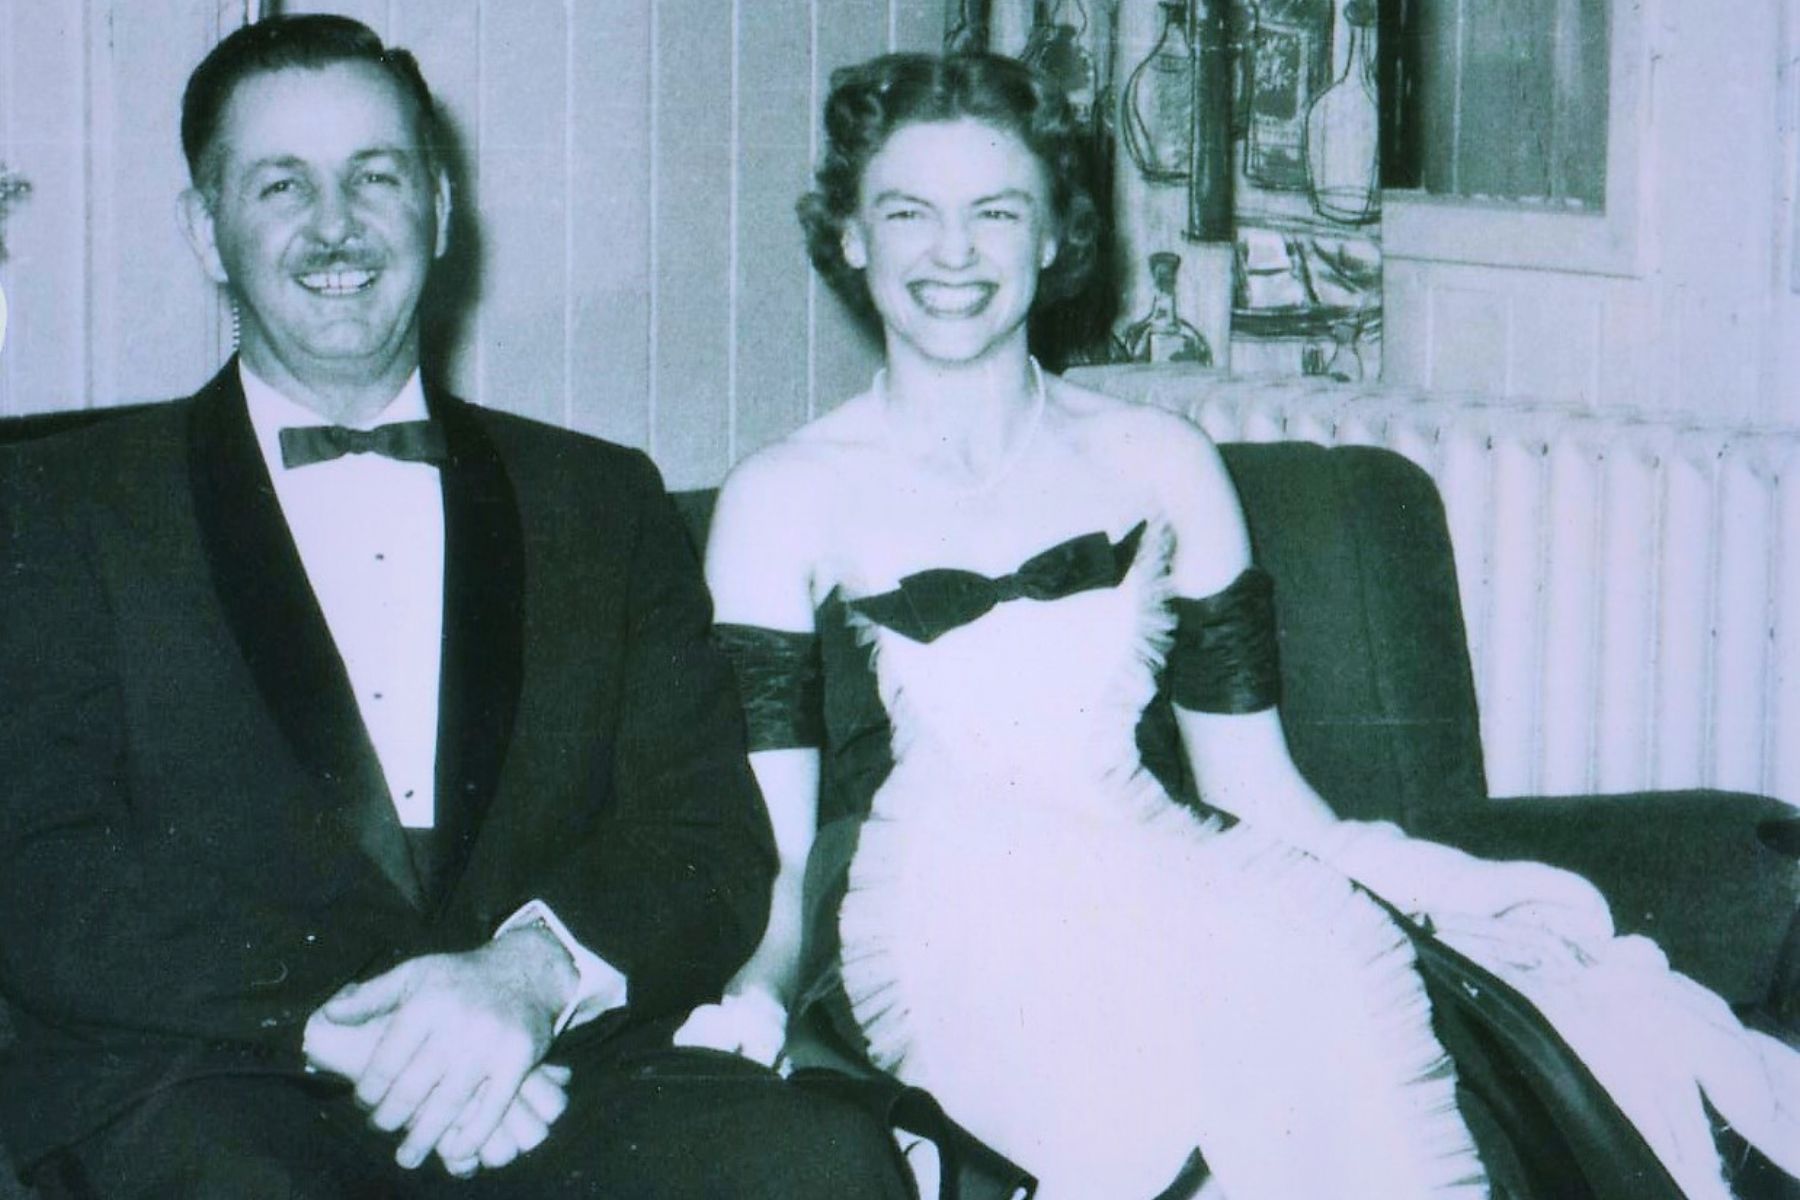
This month I’ve been focusing on how to best navigate the often tricky and emotionally complex waters of aging parents. I’ve touched on getting organized for the end stage and decluttering to downsize and this week I’m covering something that comes up all the time with my clients – ‘What do I do with all of my parents’ photos?’
We live such digital lives today, print photos stick out like a sore thumb. Some people have their photos organized in albums, others keep them contained in the original envelopes (remember the little thrill of picking up your developed photos?) But most folks have prints scattered throughout their homes, in drawers, frames and boxes. And when it comes to your parents’ photos you may be torn between feelings of nostalgia and guilt in addition to feeling overwhelmed by how many they saved. Here I propose a solution to the question of what to do with your parents’ prints so they can be accessed and enjoyed by everyone in your family, now and in the future.
Step 1: Gather
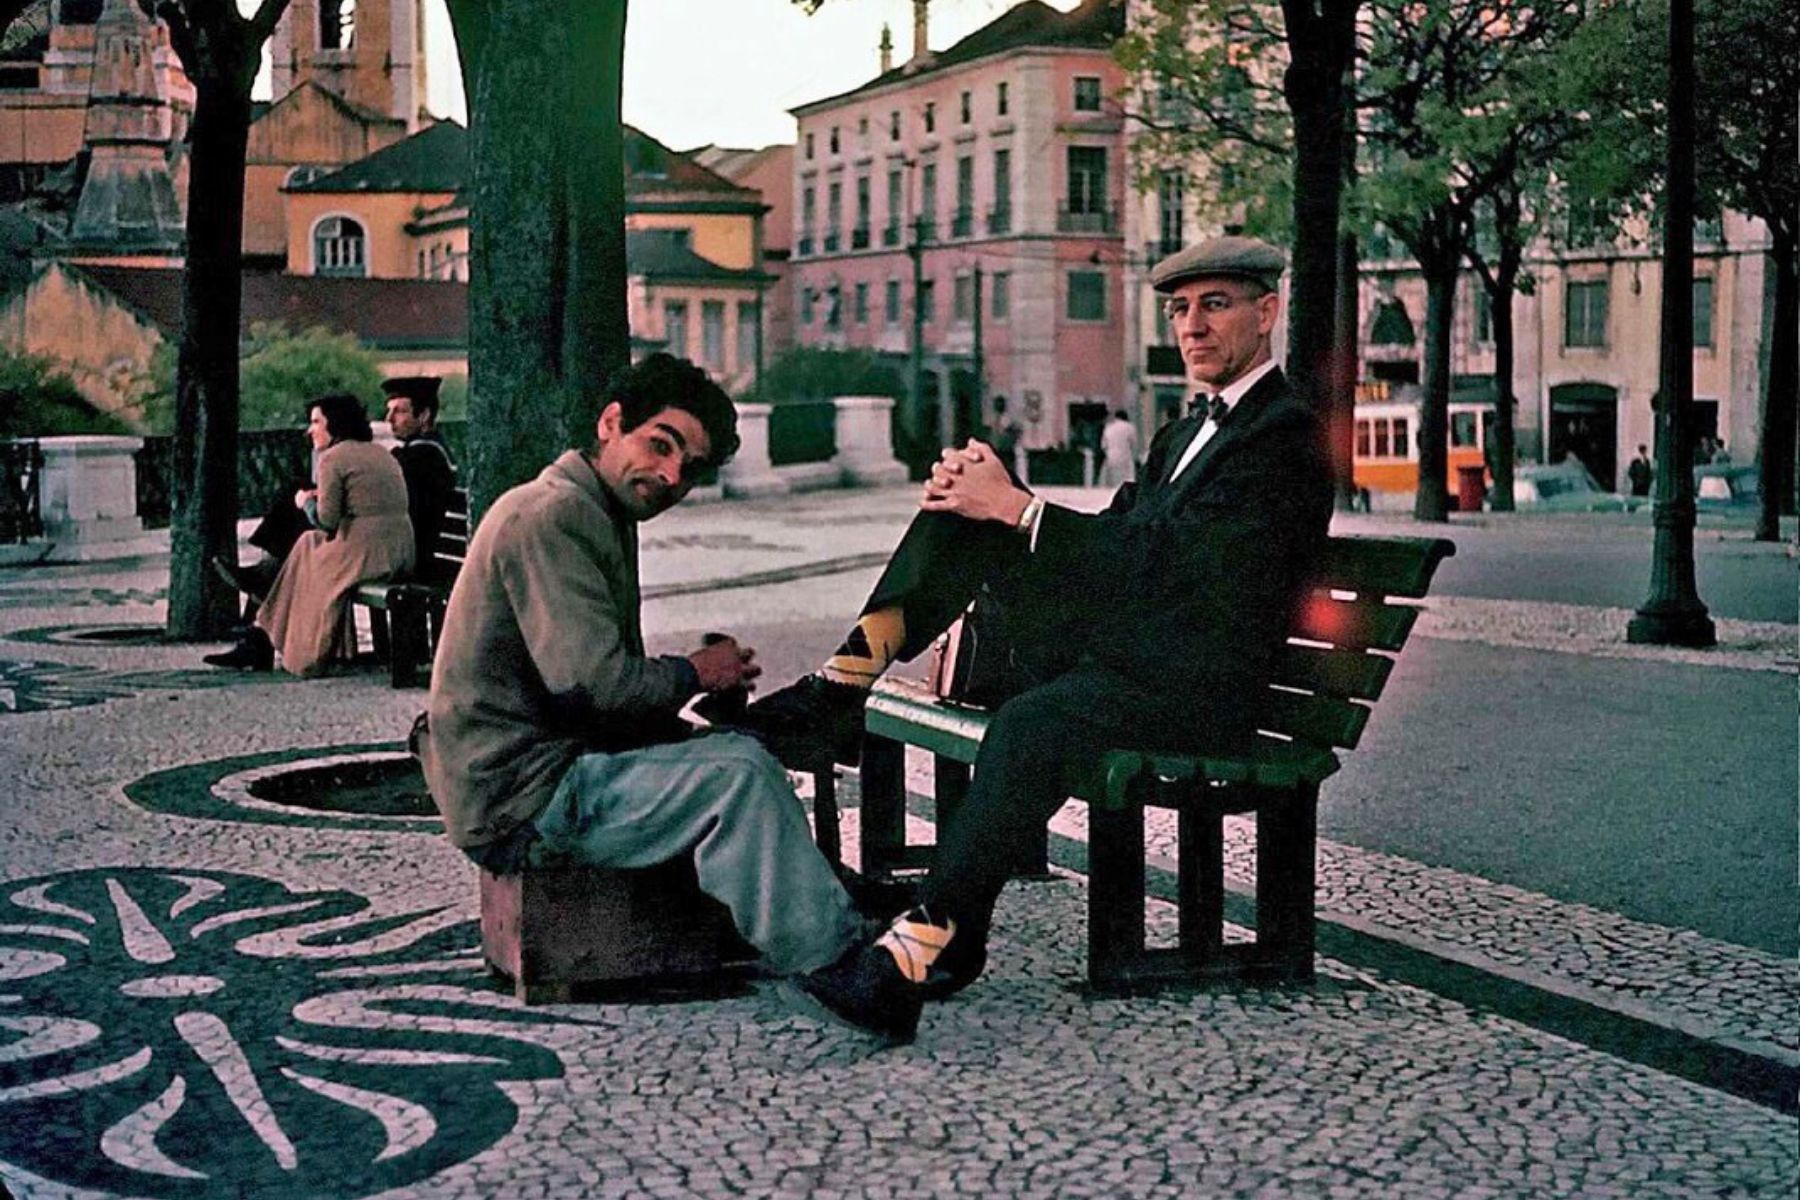
The first thing to do is gather your parents’ photos together so you can understand the volume you are dealing with. Gathering is easy if they are all in albums, harder if they are scattered throughout the house. If the collection is pretty tight you’re in good shape. If there are thousands of pictures it may take awhile so treat this as its own project. It may be that you are in the process of decluttering the whole house and are coming across pictures as you go. If this is the case, designate one spot for collection and put all the pictures you find there.
As you assess the total collection it can feel overwhelming to even think about what to do next. But don’t worry – we are going to break this process down into smaller parts to make it more manageable.
Step 2: Edit
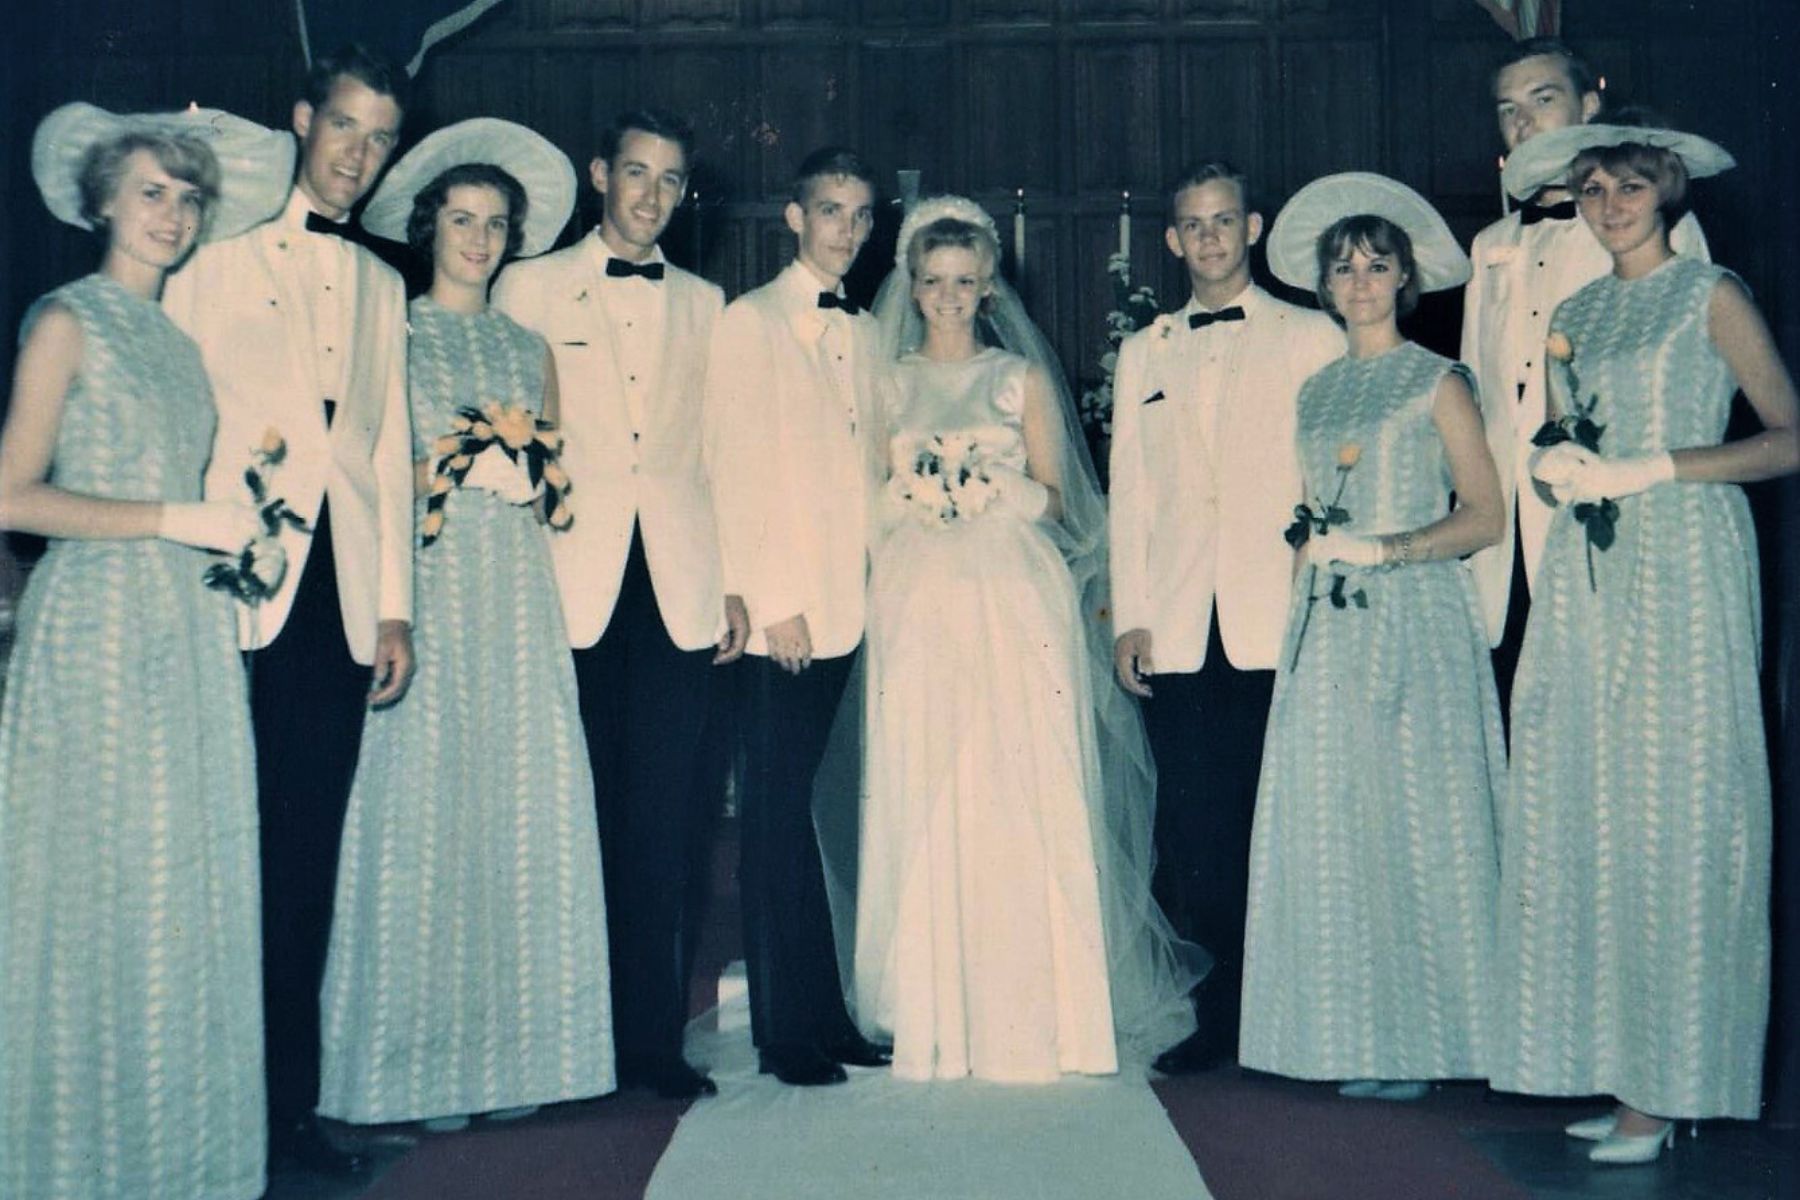
The amount of time and effort required for this step is going to depend on a few factors.
- The age and health of your parents
- The total amount of photos
- Your own feelings about the photos.
If the number of pictures is not overwhelming and your parents enjoy looking at them, then take the ‘edit down’ approach. This consists of flipping through and eliminating the following categories:
- Blurry/bad quality
- Scenic with no people
- People you don’t know/no longer care about
- Duplicates
If the amount of pictures feels overwhelming, then take the ‘reverse edit’ approach. Scan quickly through albums/stacks and pull out only the really great shots. In this approach you are not keeping most and looking for what to edit. Instead you are editing most and looking for only some to keep. It goes much faster!
Step 3: Organize
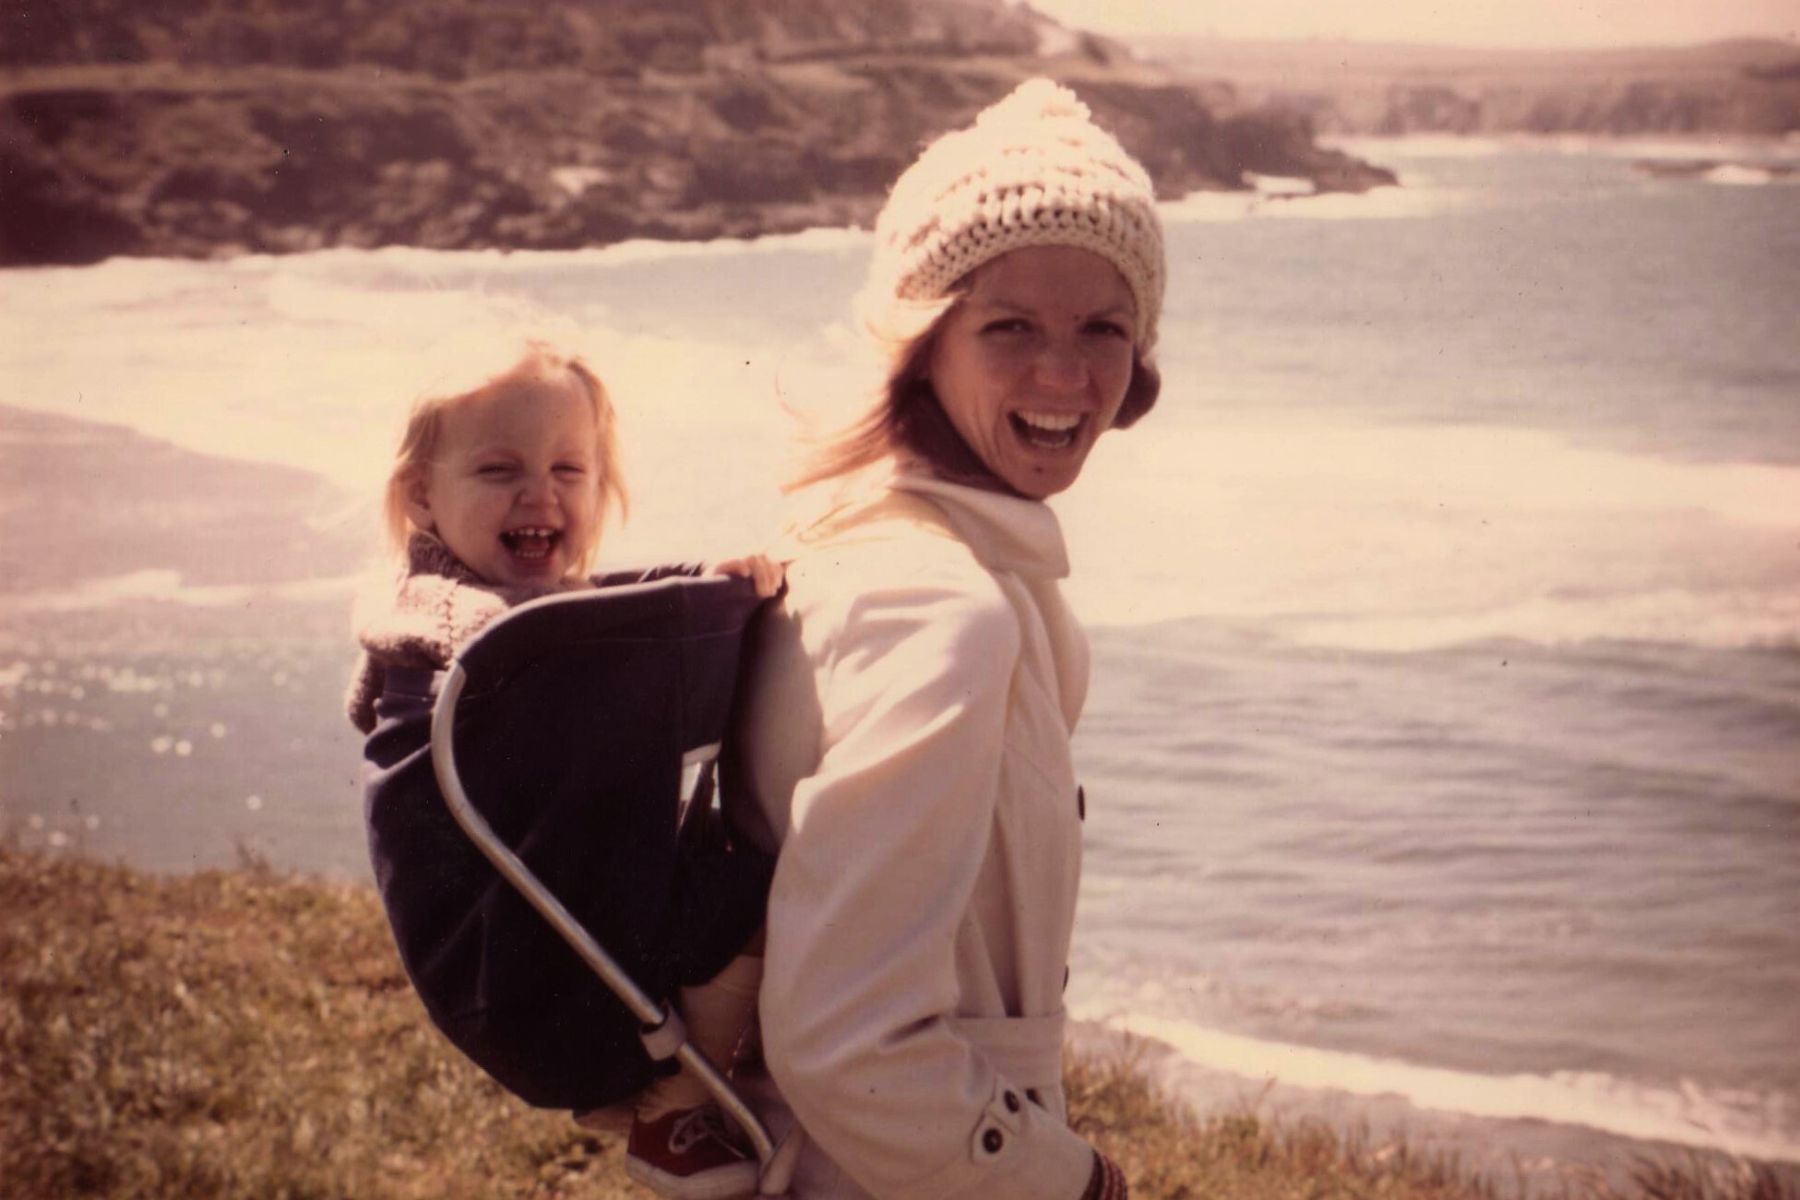
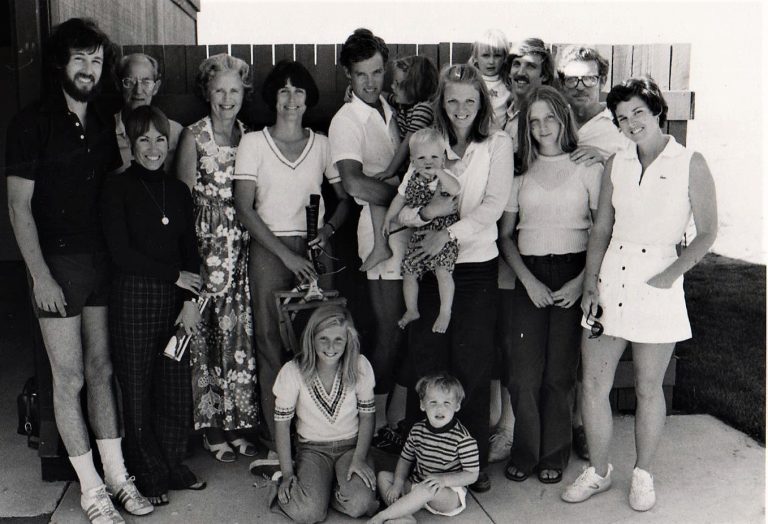
Now that you have an edited collection of your parents’ photos, try to get them in loose chronological order. Don’t worry about being exact; if you’ve done a good job editing you should have a manageable number of prints. Rather than worry about the exact year, try grouping them by decade instead. You can use children’s ages, women’s hairstyles and clothing trends to help you identify the right decade. Also, depending on where they were developed there is sometimes a date stamp on the back. Once you have the pictures categorized by decade you are ready for the final step.
Step 4: Digitize
You could stop at Step 5 if you like. If your parents are the only ones that care about the pictures and are potentially not tech-savvy they may enjoy them more easily in their physical form.
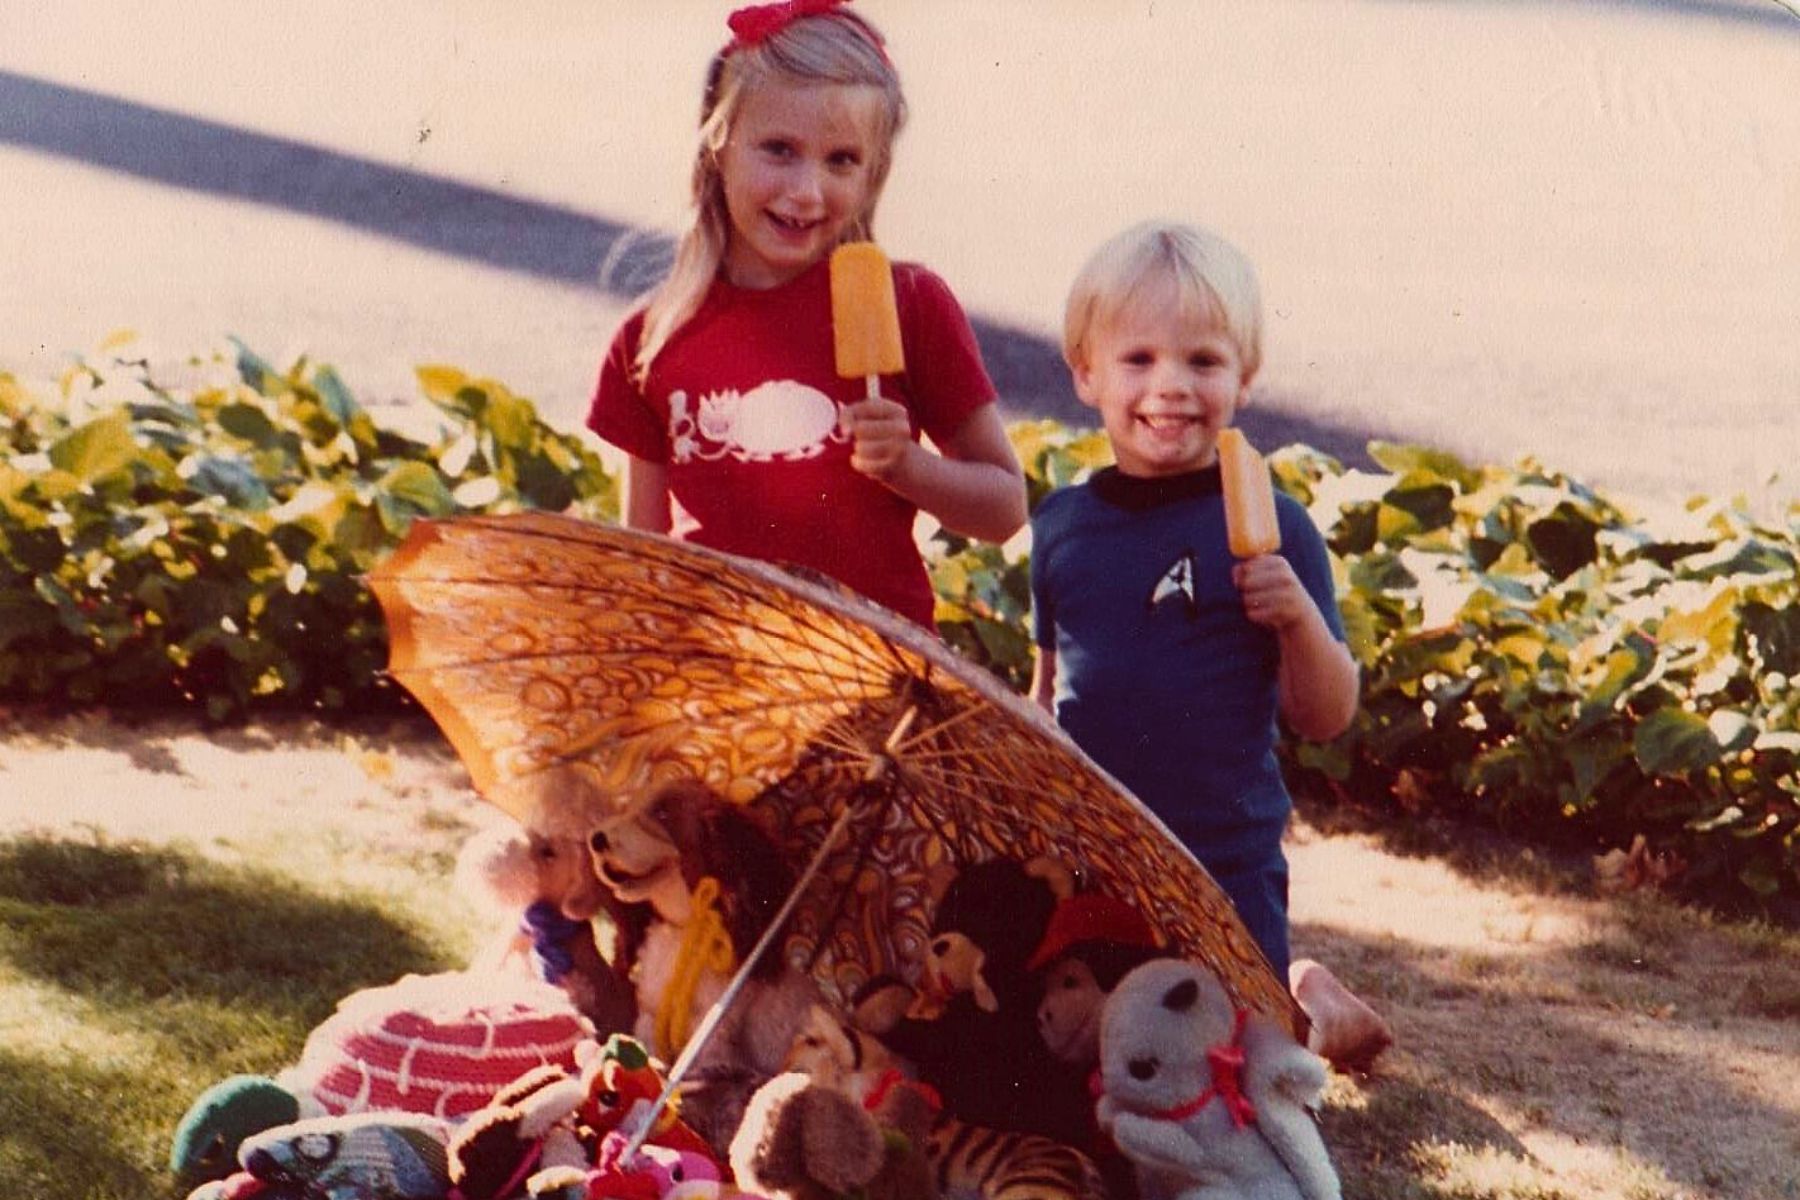
But if you are keeping the pictures for posterity and want to enjoy them yourself and keep them for future generations the best solution is to digitize them. Scanning pictures is so easy now, you can use a regular printer or an app on your phone to get the job done but it can be very slow going since both require going one picture at a time.
A faster solution is a photo scanner. This model from Epson is what I use in the photo organizing side of my business. This scanner is easy to use, fast and actually improves the quality of older photos that are faded or have weird tints. It isn’t cheap but is worth the investment if you have a lot of photos to preserve.
Another option is to have a photo organizer digitize the photos for you. Depending on how many prints you have, this can be a much cheaper option than buying a scanner for yourself. In my business I save them on a thumb drive or add to a digital library that I’ve created as part of a larger photo organizing project.
Once the photos are digitized there are so many things you can do with them: physical albums, digital frames, social media posts, calendars…the list is endless. This is such a rewarding step because now the photos are so much more accessible.
Step 5: Backup
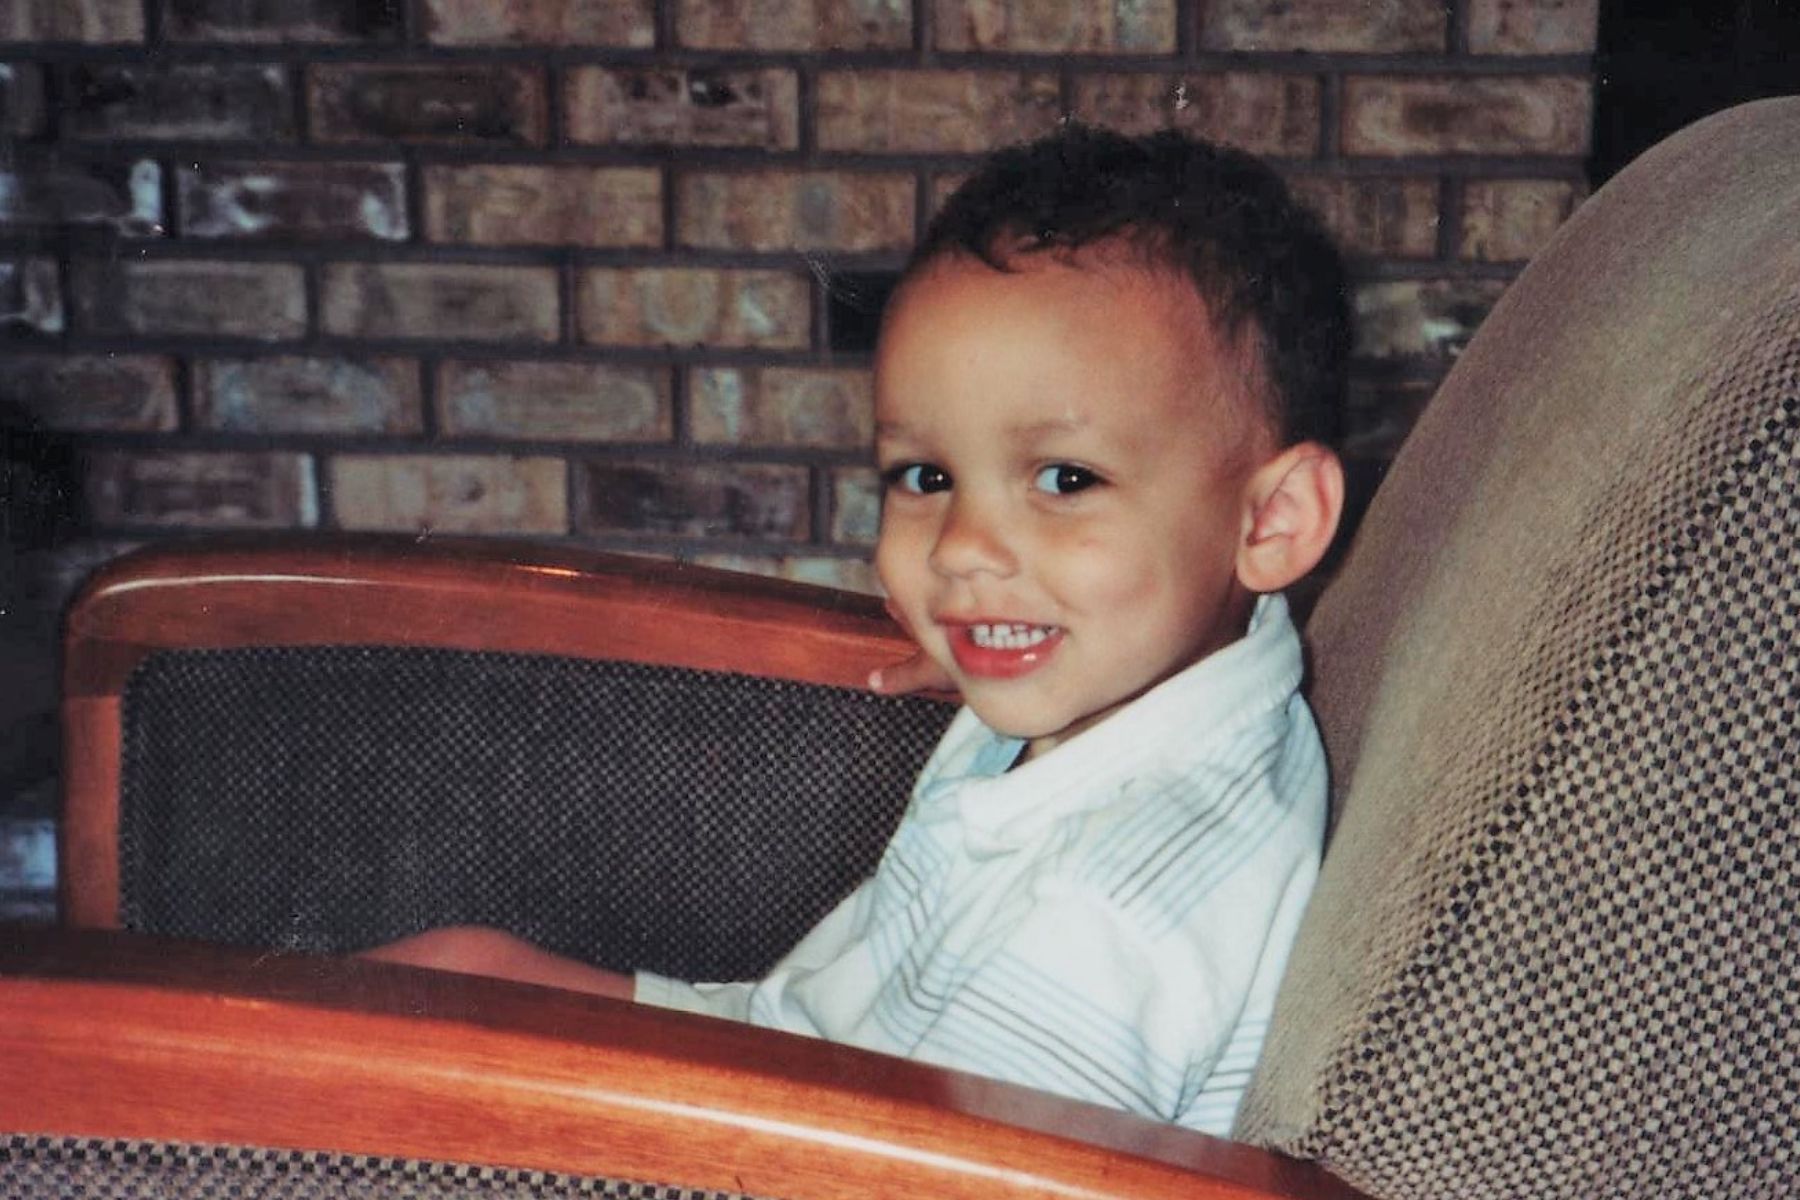
You should absolutely back up the photo collection that you’ve worked hard to curate. Unless you already have a system in place I recommend Amazon Photos as your backup for the following reasons:
- Unlimited Free Photo Storage for Prime Members
- Photos are easy to back up and also easily accessible, not the case with every cloud service
- The facial recognition is excellent. It’s easy to get every photo from baby to old age captured and assigned to the right person
- You can also search on random things. From ‘dog’ to ‘snow’ to ‘beach’ you can quickly find the photo you’re looking for in addition to regular filters like date and location.
Having a photo library at your fingertips via an app on your phone is magic. You have no idea how much you will actually enjoy these pictures you organized. It’s so much better than letting them collect dust in boxes!



Method Seattle Comment Policy
We welcome relevant and respectful comments. Off-topic comments may be removed.