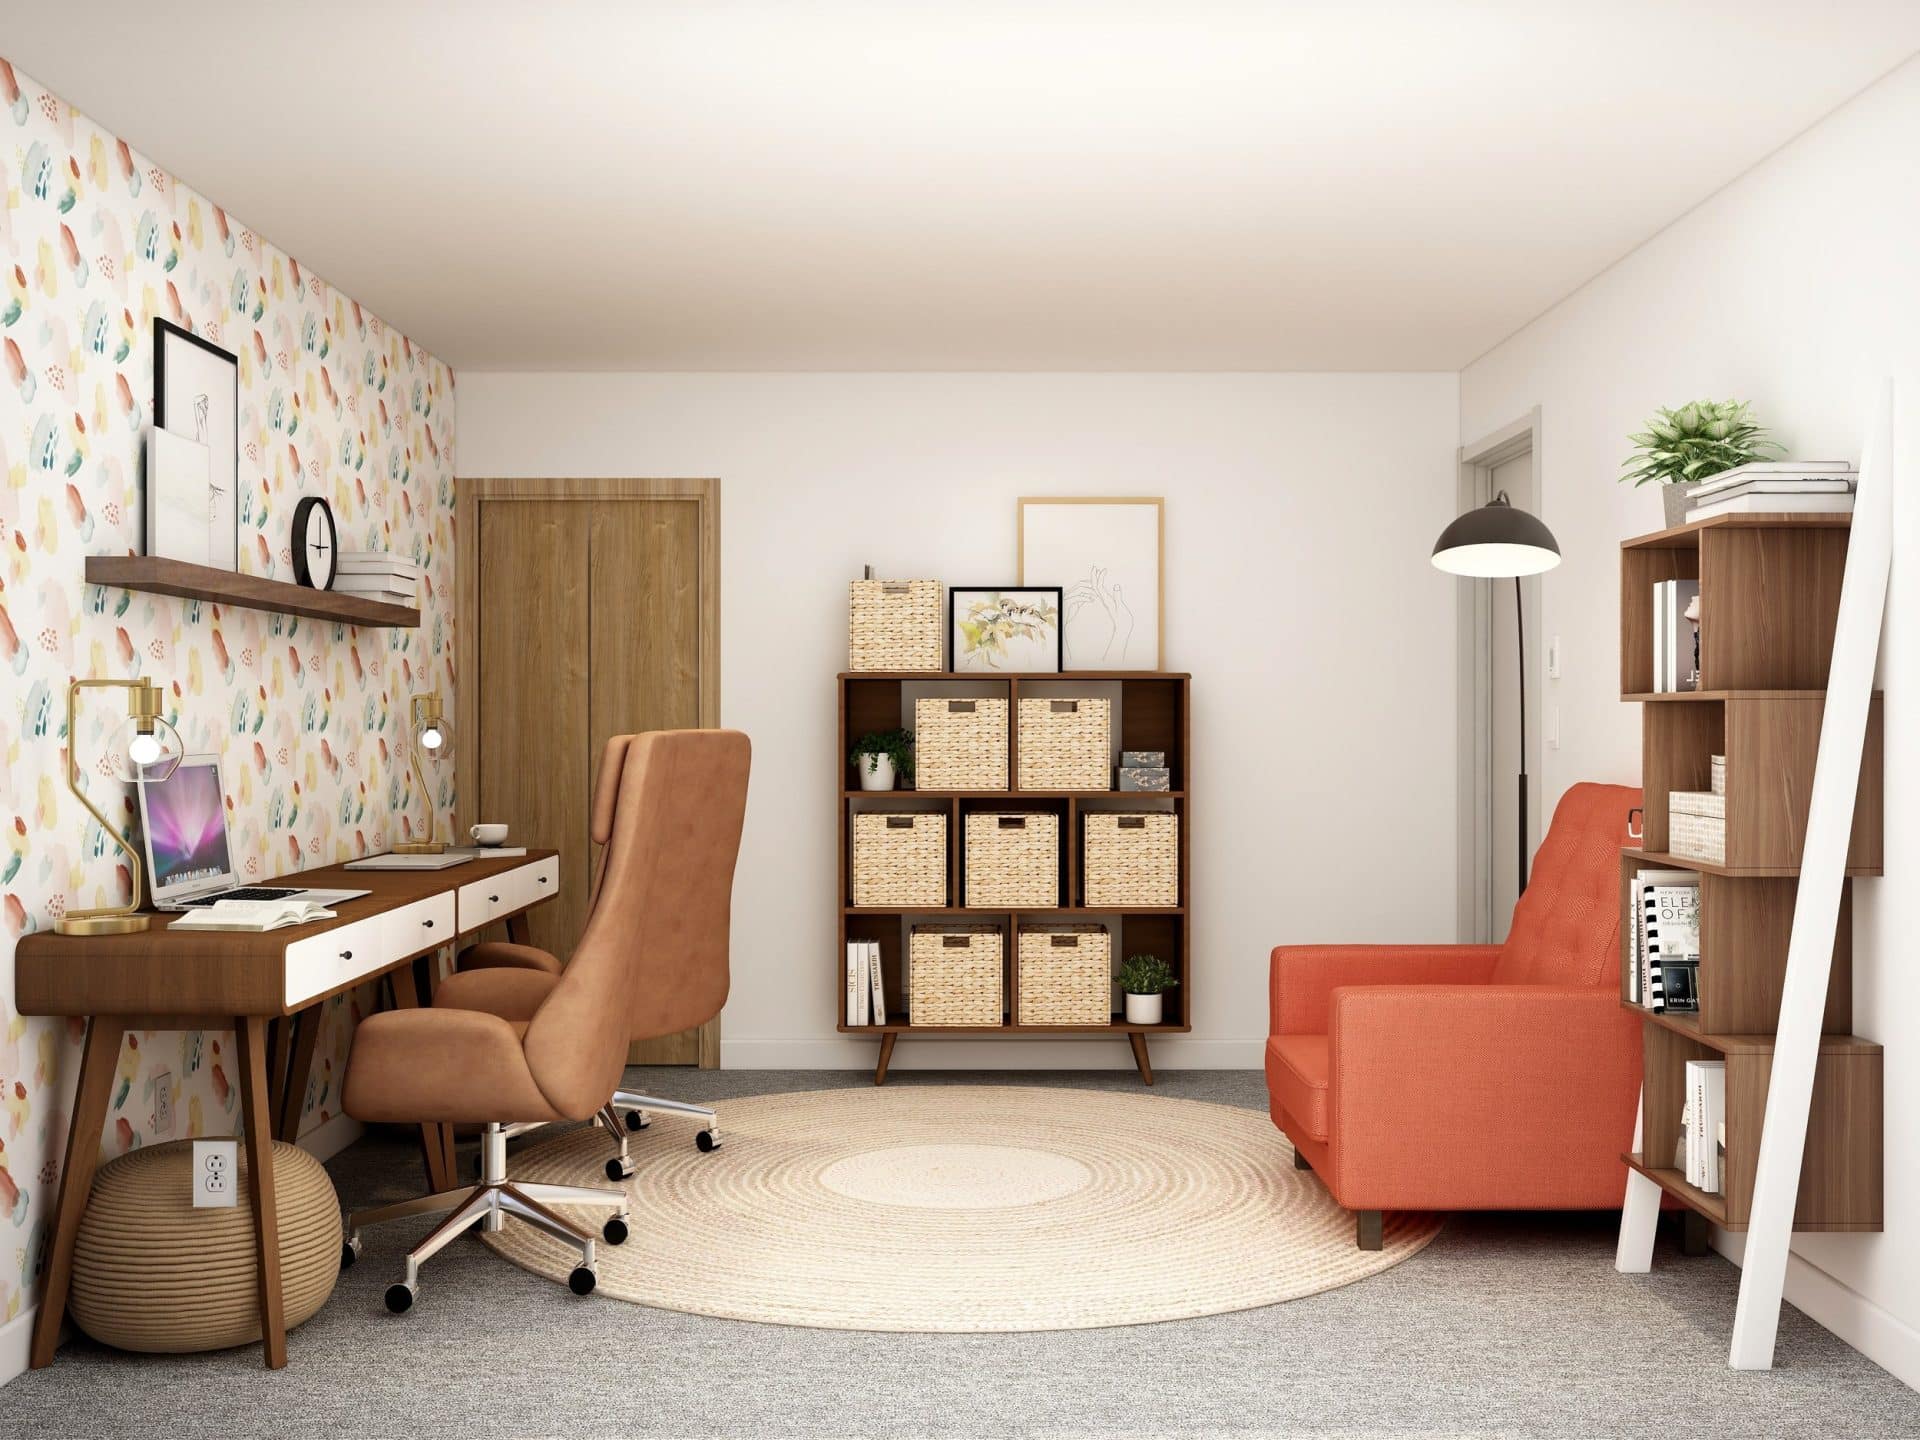
Spring Cleaning Method: Home Office Edition
As an Amazon Associate and member of other affiliate programs, I earn from qualifying purchases.
Now that we’ve tackled the Kitchen and the Family Room, we’ve come to the Home Office stop of our Spring Cleaning journey and it’s an important space to tackle because these days it can have a big impact on your mental health. Only 2 years ago most Home Offices were used occasionally, either on random work-from-home days or in service of the personal ‘work’ that is a necessary evil in our lives. But since the pandemic sent everyone home from work (or rather sent everyone home TO work) the Home Office has become one of the most-used spaces in the home and many have not had the time or energy to properly prepare theirs for such heavy usage. At my house we didn’t even have a dedicated Home Office as I proudly declared we didn’t need one, that is until I launched my business and instantly knew I’d need a space that was conducive to productivity and an inspiring place to spend time. I now treasure my space and I’ve set it up in a way that keeps me both inspired and productive.
The 3 steps in my Method for Spring Cleaning: Home Office Edition all tie back to Productivity and Inspiration, that should be what you are trying to achieve with this exercise. And when you are finished you should be left with a space that is easy to tidy up when things inevitably get a little messy. So let’s jump right in!
step 1: clear your workspace
This example is a bit extreme but you get the picture – less clutter equals more focus
Whatever your desk setup looks like (straight, L-Shaped, standing, shared, etc.) the first thing you need to do is clear it of any clutter that doesn’t belong. Desk clutter in the form of papers, cords, office supplies, books or not-often-used equipment like printers or scanners gives your mind more visual information to process, which can make it hard for you to focus when you are working.
-
Tame your cord clutter with products like sleeves, clips and velcro strips for the heavier cables (the ones with those bulky boxes attached)
-
Office supplies like writing utensils, paper clips, post-its, etc. should be somewhat handy (a close drawer is best) but away from your desktop
-
Leverage wireless printers & scanners and move them to their own home (I have mine on a small folding desk against the wall) so they are not taking up precious surface area on your work space
Finding other homes for things you don’t need right in front of you means you have space to add something important you may need (I find a double monitor to be a big contributor to my productivity for instance.) The things you do need to be productive should have plenty of space to breathe.
In order to reduce the items on your desk to only the most critical you will need adequate storage; this could take the shape of a small file cabinet (with a drawer or 2 for those office supplies!), a bookcase or floating shelves on the wall. I recommend a mixture of open shelving and drawers or cabinets to keep less visually appealing items out of sight.
Step 2: declutter physical and digital files
Get in there and purge your paper – then go paperless wherever you can!
This is a critical step that will take some time if you don’t do it on a regular basis. You should declutter both your physical files and your digital files, beginning with the physical.
In today’s world you should only need to keep paper copies of records like Birth and Death Certificates, Social Security cards, marriage licenses, divorce decrees and car titles. Tax returns and accompanying documentation should be kept for 7 years. Everyone’s situation is a bit different; here is a quick guide to what you should keep for how long. You could invest in a shredder but I prefer to shred at my local FedEx after I’ve done an annual purge so I’m not bringing the clutter of another piece of equipment into my office. While you are purging your paper files it’s a good time to make sure you’ve gone paperless wherever possible. Things like brokerage and bank statements are easily accessed from your online account these days and paper copies are superfluous. Once you’ve done the initial big paper purge, the annual maintenance should be fairly painless.
Digital Files can get cluttered fast if you don’t have a good filing system (don’t get me started on cluttered computer desktops – ACK!) Before you begin purging anything on your computer think about what folder categories you will need in your system and set them up first, then you can place documents in them as you go. Same guidelines apply for both digital and physical financial documents, once you have your system set up it’s pretty easy to go through once a year and delete the chronological folder that is the oldest.
The peace of mind that comes with a good personal and financial filing system is priceless, and you won’t waste precious down time trying to locate something when you need it!
step 3: Add a few things that inspire you
I love to look up at this wall while I’m working
Whether you leverage a shelf or wall space it boosts productivity and creativity to add a few things that inspire you to your office environment. It’s nice to look up from your work and see something that makes you feel good. The wall opposite the desk in my office is a gallery wall of my favorite pictures from our family vacations in Hawaii over the years. It soothes me, especially during the cold gray months of the Northwest Spring. I also have a curated collection of my favorite old family photos from both sides of my family arranged on my bookshelf, also visible from my desk. Clearly, I am a photo-phile who also works with photos so they are inspiring to me but that doesn’t have to be your thing. Once you’ve done the heavy lifting of de-cluttering and designing a storage system for what you are keeping it’s okay to add a few things that help your space feel warm, personal and energizing.
Decluttering your work space and files, designing a storage system that is visually appealing and functional, and personalizing the space with a few extra touches is a Spring Cleaning project that will give back to you all year in productivity gains and emotional well-being. Put it on your priority list this Spring!

