Here is exactly what to do with your kids’ art
As an Amazon Associate and member of other affiliate programs, I earn from qualifying purchases.
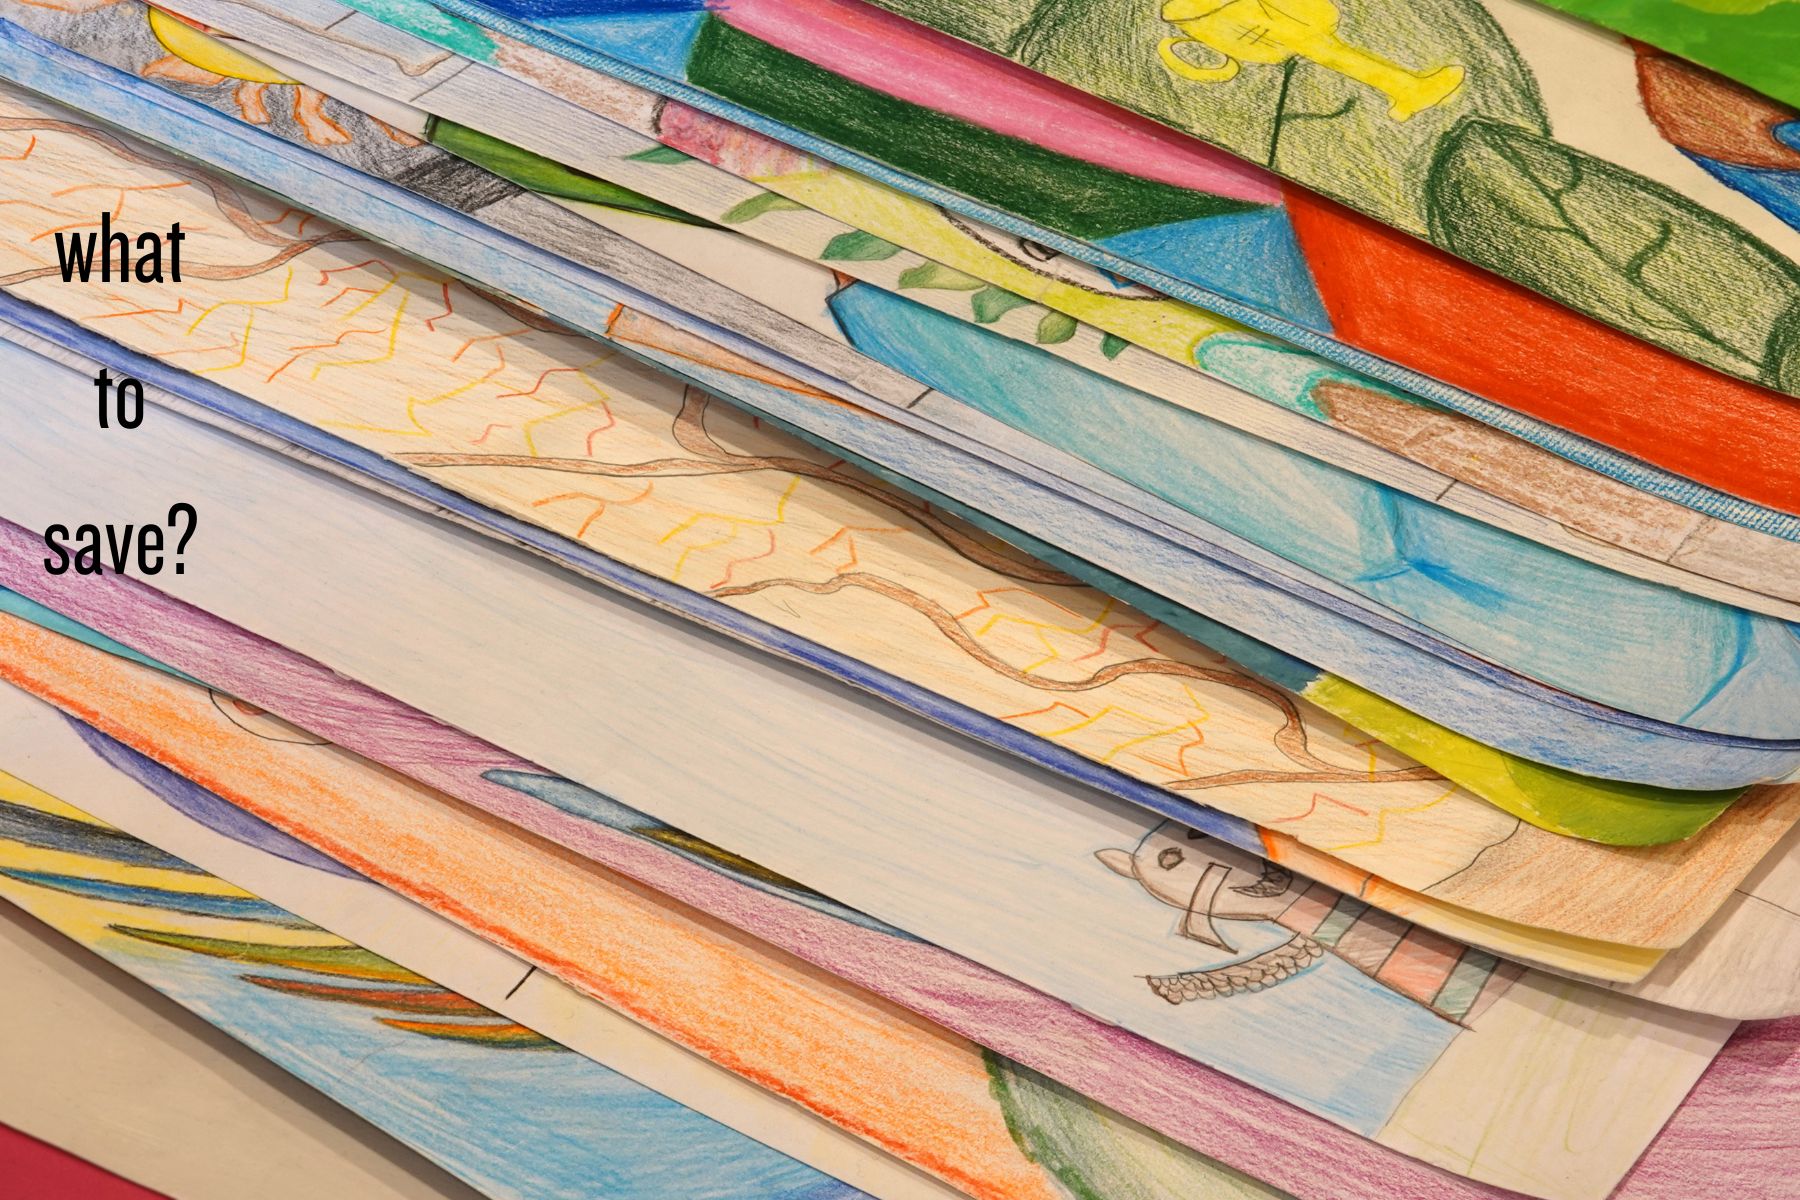
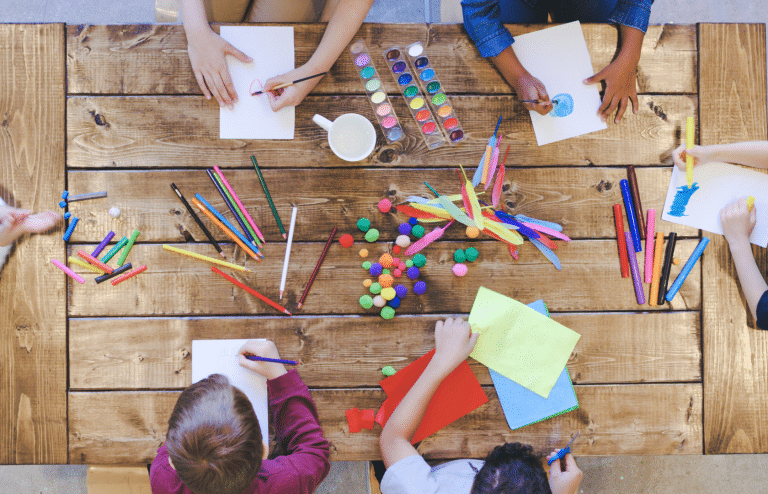
School is out! Quick, before you have a chance to blow it off and start your summer let’s quickly deal with your kids’ artwork. The artwork that is currently occupying wall space, drawers, boxes, files and piles in your house. As a professional organizer, what to do with kids’ art is one of the biggest challenges my clients face. It quickly becomes so big that it’s overwhelming to contemplate dealing with. It is then stuffed away in boxes where it languishes for decades.
The sentiment around kids’ art & schoolwork is understandable. It’s so cute! It transports you to a time in their development that you can’t get back. But you probably won’t return to visit because the sheer volume of what you saved will prevent you from enjoying it.
So what should you do? Here is a 3 step system to follow that will give you the best of both worlds; easily accessible memories that don’t take up all of your storage real estate..
If your kids are in their pre/elementary years – GREAT. You can implement this system now before the boxes take over! If your kids are in high school or flown you can use the last 2 steps to back-track your editing process. In this case the bad news is there is a lot to sift through. The good news is it will be easier to edit now that you have some perspective and wisdom under your belt!
Intake
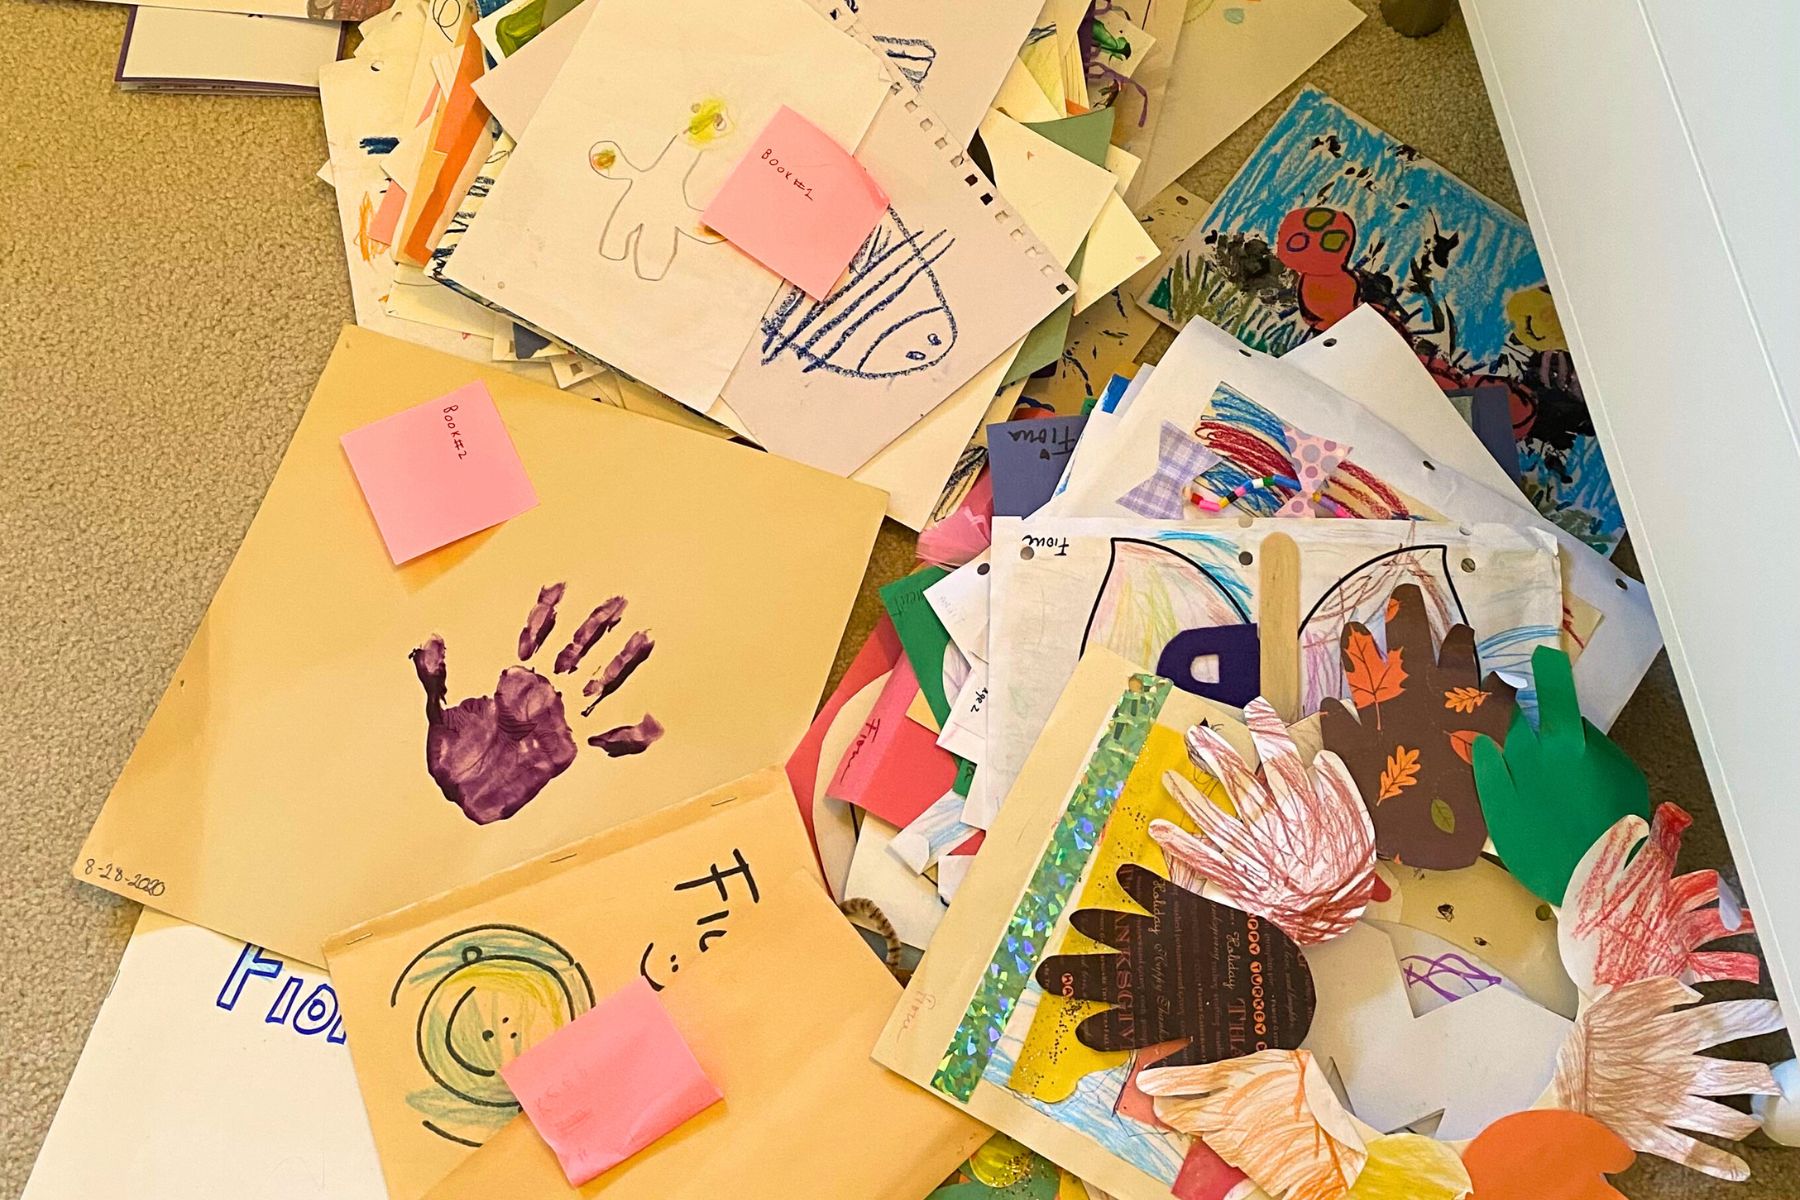
The first step in the system is to set up a spot for intake. You need to know where to put the kids’ art when they proudly pass it along to you. For this step you don’t really need to do any organizing per se. A single bin, drawer or paper organizer like this one will work fine.
If you have the presence of mind to edit in-the-moment, that’s great. You can probably already easily discern between the keepers and the pieces destined for the recycle bin. In my own experience I like to revisit the art that is combined with a story (e.g. ‘what I did for summer vacation’, or ‘why my mom is great’) because it also gives insight into their little developing minds. Beware of the extra-large or 3-D pieces that are hard to store! Those you can capture in a picture!
The important thing about the intake spot is that it is somewhere that’s easy to access. If you have to walk far or to another floor in the house for the bin the system will break down.
Edit
Okay, you’ve been collecting the intake for the whole school year and now you have a bin full of potential keepers. Now it’s time to edit! Grab your budding artist and get their input on their favorites. This is a fantastic learning opportunity, editing is a life skill! Prioritizing the best and letting go of the rest applies to almost every profession and industry so start ‘em young!
Once they’ve chosen their favorites from the bin, toss the rest in the recycle bin. If you have any uncomfortable feelings about letting go, just remind yourself that MORE IS COMING.
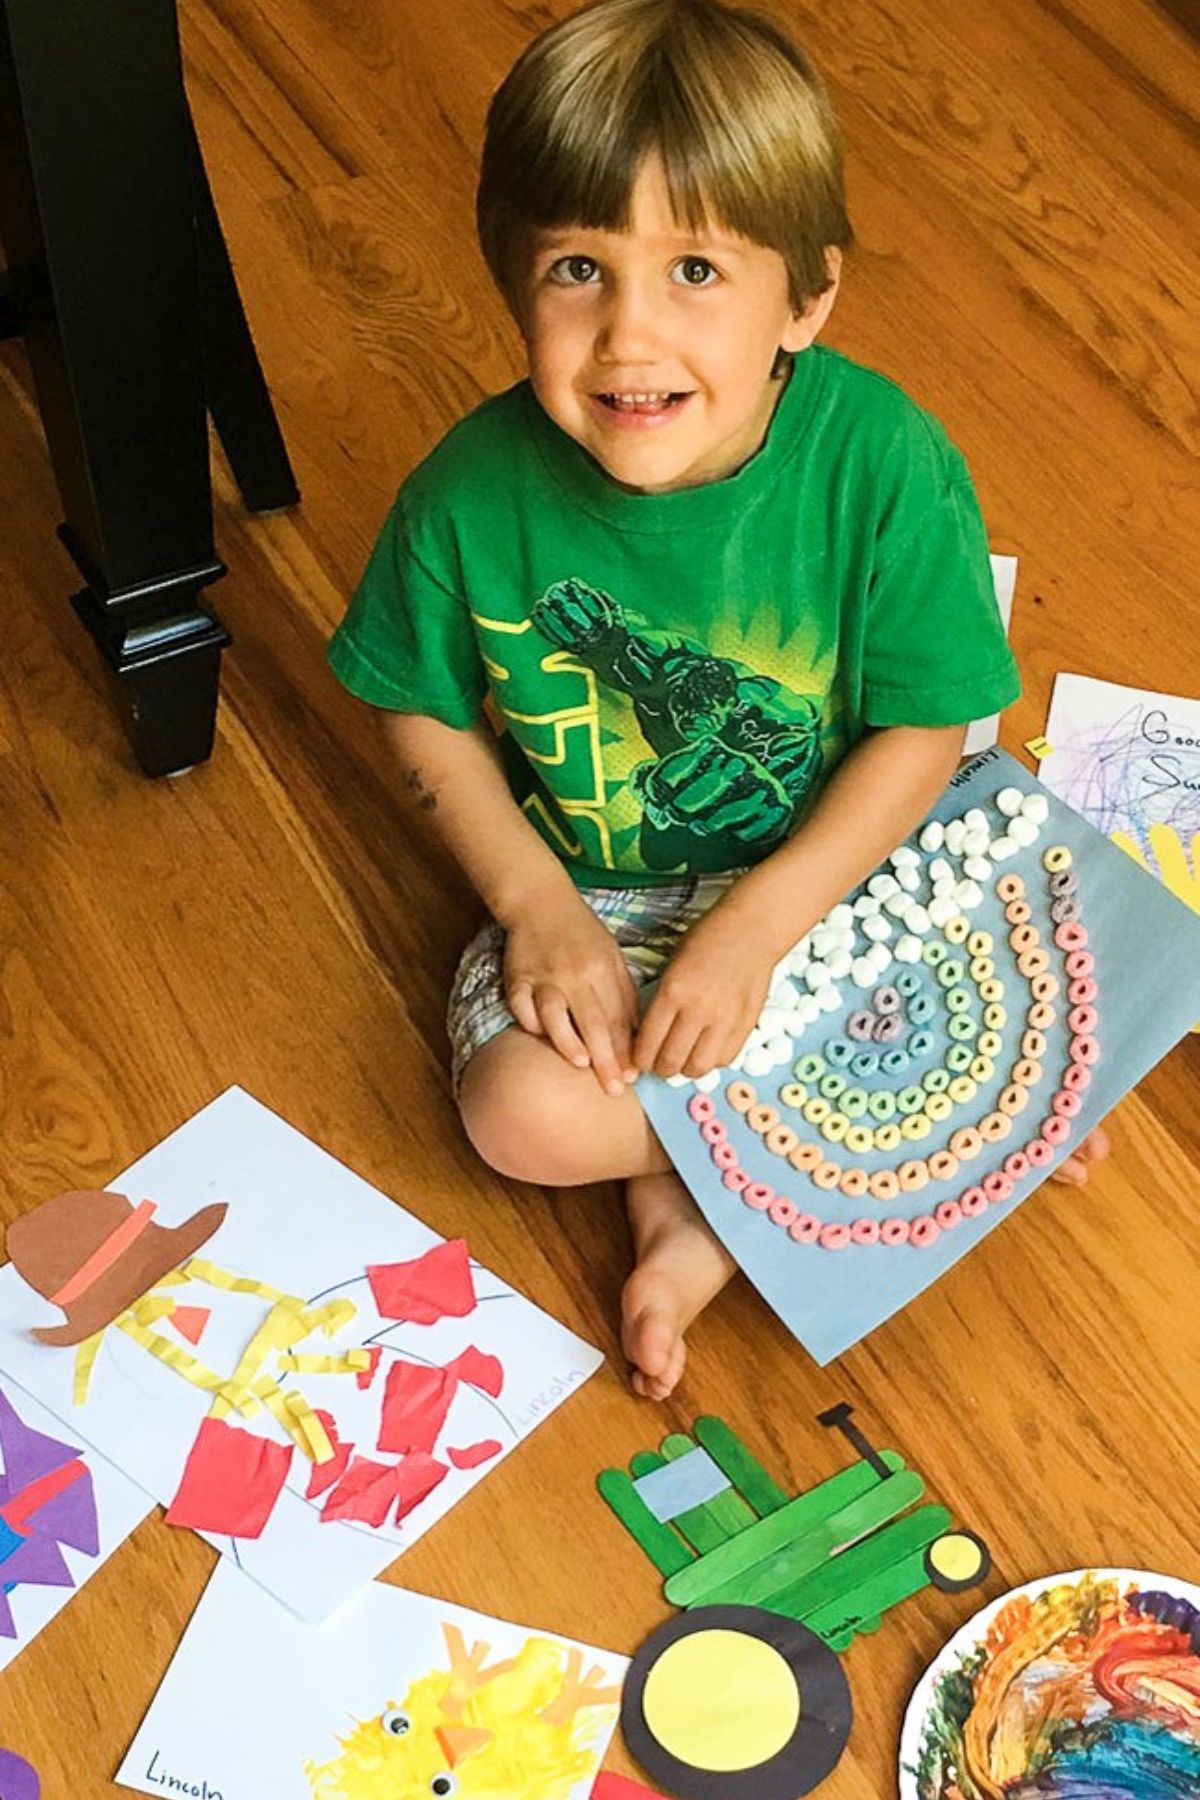
Once you’ve gone through the (first) edit, have your kid sit on the floor and surround them with the pieces they’ve chosen. Take a photo – now you’ve captured not only the art but where your kid was in their development when they created it. It’s helpful if there is an indication, like a sign, somewhere in the photo of what grade this collection represents. Create an album on your phone (‘Charlotte’s Art’) and throw the photo in there for safe-keeping. Or use an app like Class Keeper to keep everything organized.
Now comes the hard part. Once you’ve taken the photo, have your child pick one or two very-favorites to keep as originals. The rest go into the recycle bin. I know it’s hard but remember you’ve got the photo (and MORE IS COMING.) If you need emotional or editing support for this step my 30 minute coaching sessions are there for you!
Archive
If you are back-tracking this project after the kids have grown it’s important to recognize who you are saving this stuff for; your kids or yourself. That means you should probably ask your grown kids if they care about an archive. Some will, many won’t. If yours don’t then you know what you are saving is for you to enjoy and that will help you to archive only your very favorites.
I urge you to keep your physical archive small. One box per child is optimal. If your kids are in their prolific years now you can use that one box as a storage boundary, when it’s full you’ll need to edit before you add more. If you are back-track archiving, it’s the perfect editing lens. One box is easy to store, easy to access, easy to flip through.
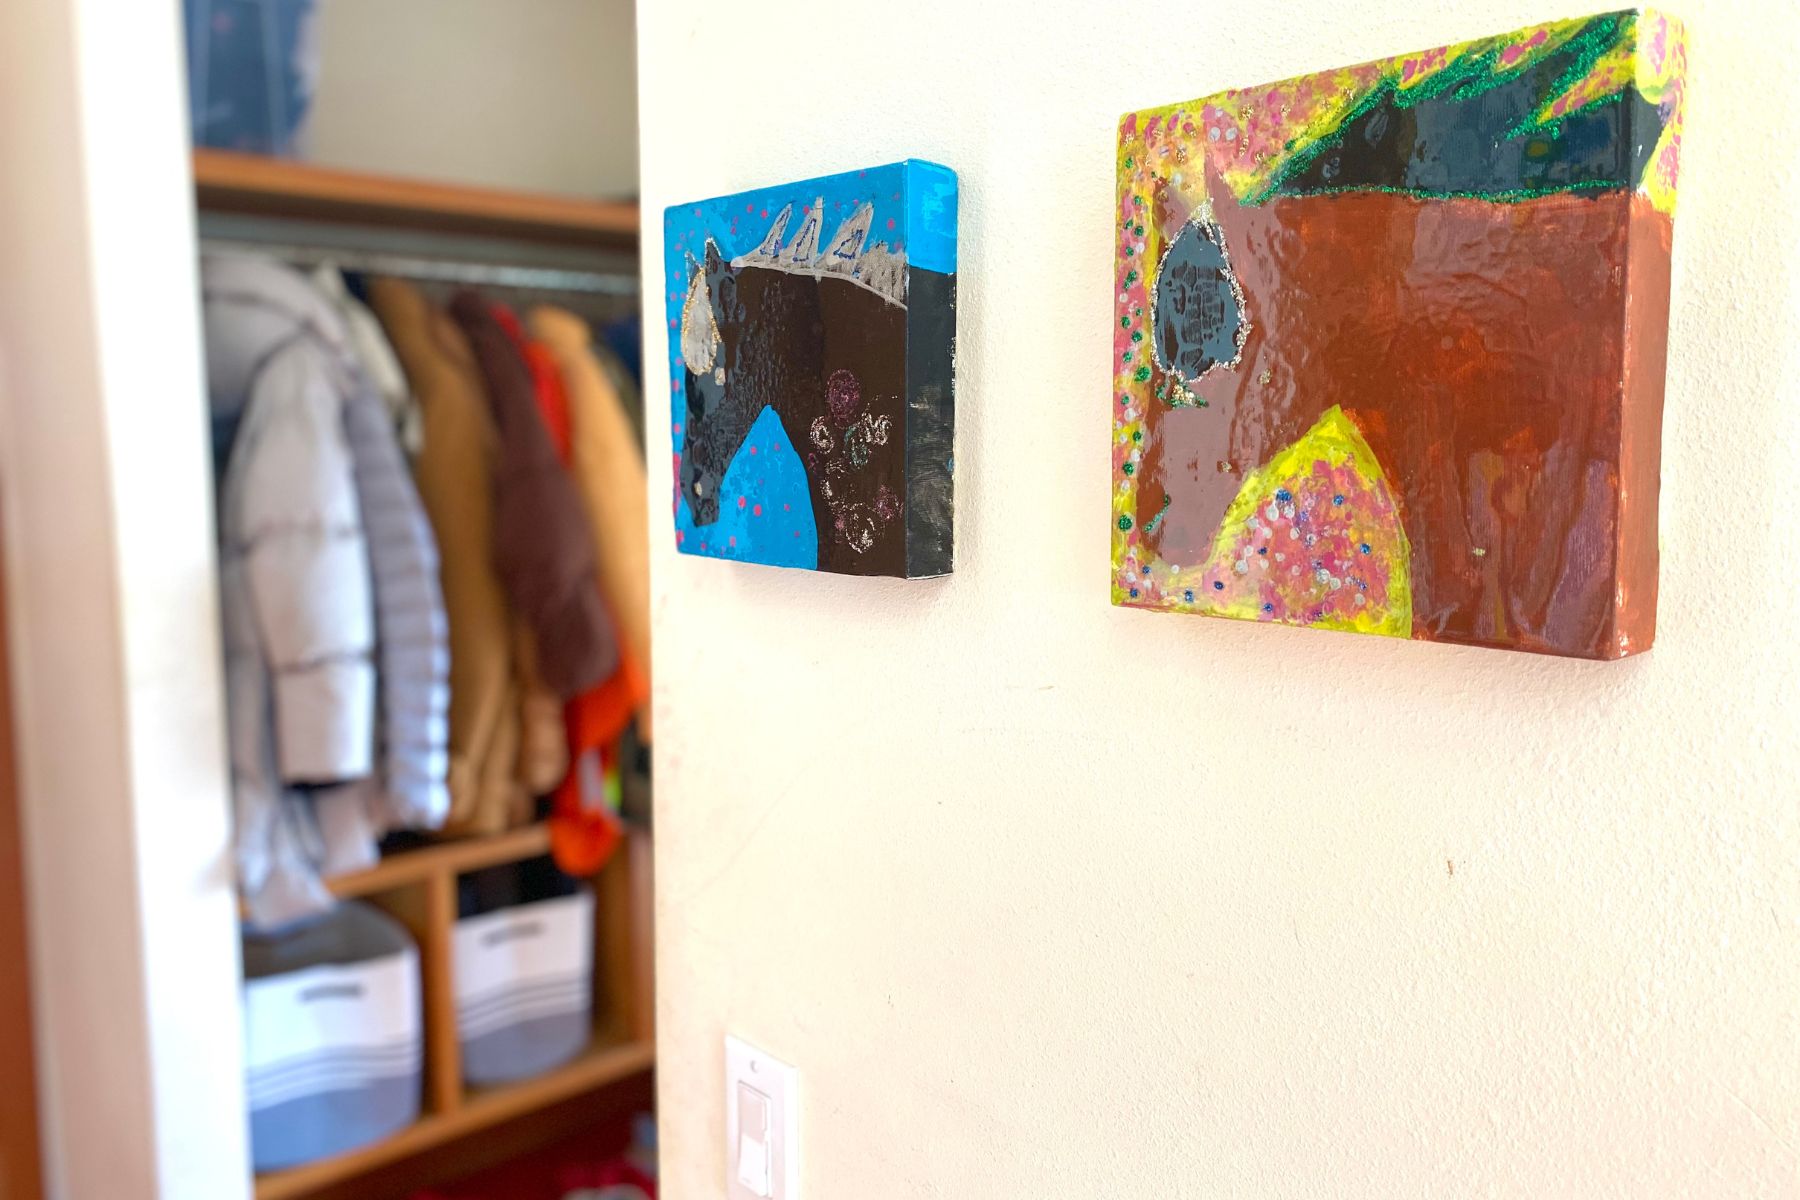
If you would like a more durable archive you can create a book or a number of other products through companies like artkive. They aren’t cheap and there is some effort involved but it’s a nice way to capture memories. In terms of boxes you want something that is designed for paper and has archival properties. I’ve assembled some options here. And remember the very best pieces you can fram and display – I have some of my kids’ art hanging that I still love to look at every time I pass by.
At the end of the day this system will help you absorb the intake, document these fun developmental years in your child’s life and put yourself in a position to enjoy the memories down the road. Which is the whole point, really – right?




Method Seattle Comment Policy
We welcome relevant and respectful comments. Off-topic comments may be removed.