Spring Cleaning Method: Kitchen Edition
As an Amazon Associate and member of other affiliate programs, I earn from qualifying purchases.
March is one of the hardest months for me. It is a sloggy month when there is a ton of rain and it’s still really cold and I usually don’t get to see much blue sky. But also green shoots are poking up and Daylight savings happens and I can smell the promise of future warm and sunny days. And any combination of those factors gets me motivated for Spring Cleaning because it is an indoor activity that I can do even if it’s gross outside and at the same time it makes me feel Springy. There is a lightness that comes with taking inventory of the contents of a room , eliminating the things I no longer need and putting everything back in a proper order. You can plan out a few days to do a big Spring Clean but I prefer to take the one-room-at-a-time approach which feels less intimidating and more manageable. My focus this month is the 4 rooms where you will get the highest early return on time invested. In other words you will feel the benefits in a big way and that will provide momentum for the rest of the house!
Note: the kind of Spring Cleaning I will be covering in this month’s blog posts is focused on decluttering & organizing, not the actual cleaning itself as I do not profess to be an expert on that topic, nor do I enjoy it (#outsource)!
Week 1: The kitchen
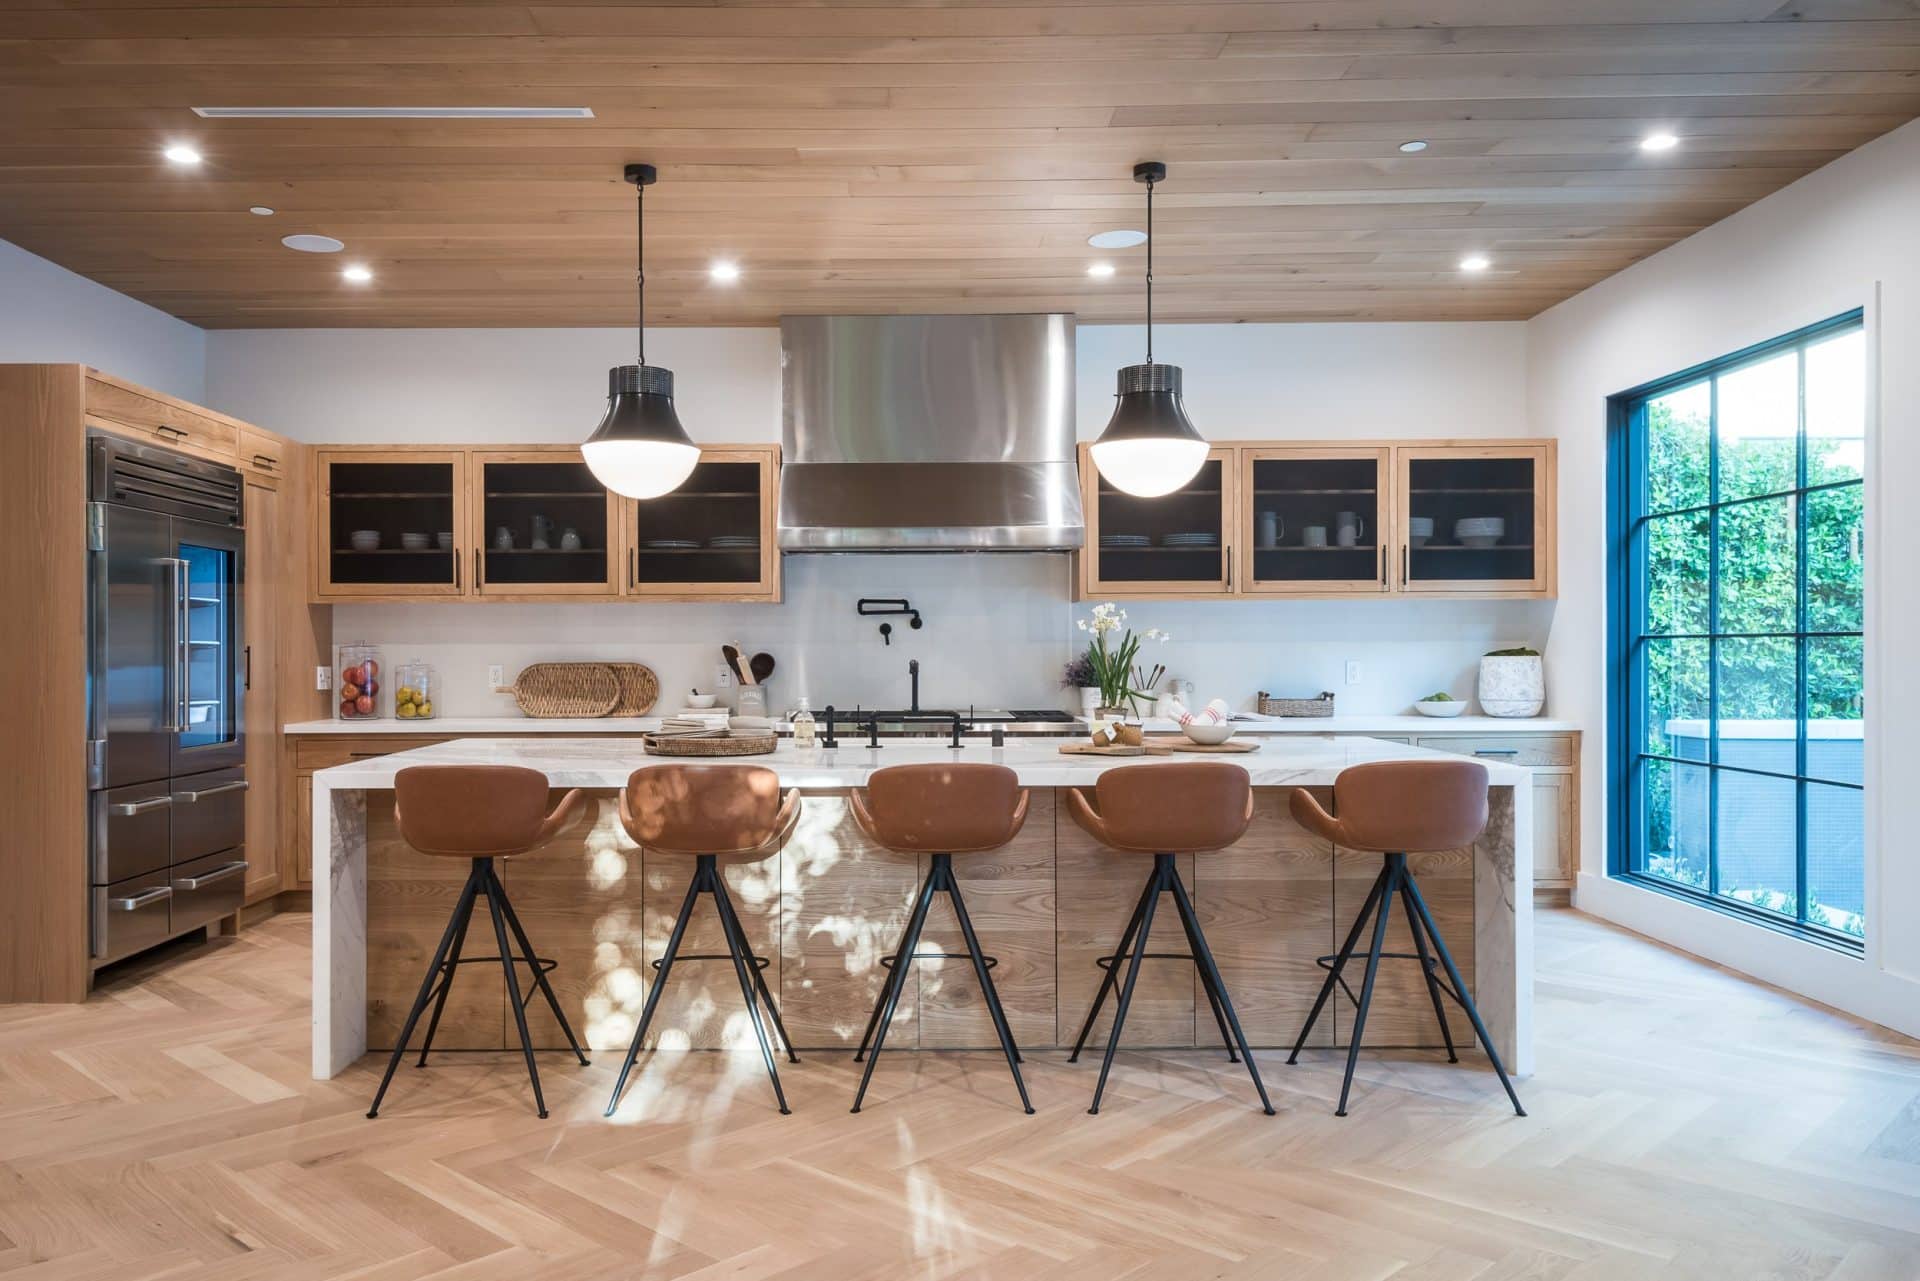
An organized kitchen has a halo-effect on the rest of the house
I rank the Kitchen #1 in terms of a place to start for Spring Cleaning. Why? Because the kitchen is the heart of the home these days and you spend a lot of time there. Also, there is a sense of lightness once you’re done that has a halo effect on the rest of the home. When the kitchen is organized it feels like the whole house is organized, even when it isn’t! So where to start in the kitchen? Follow these steps:
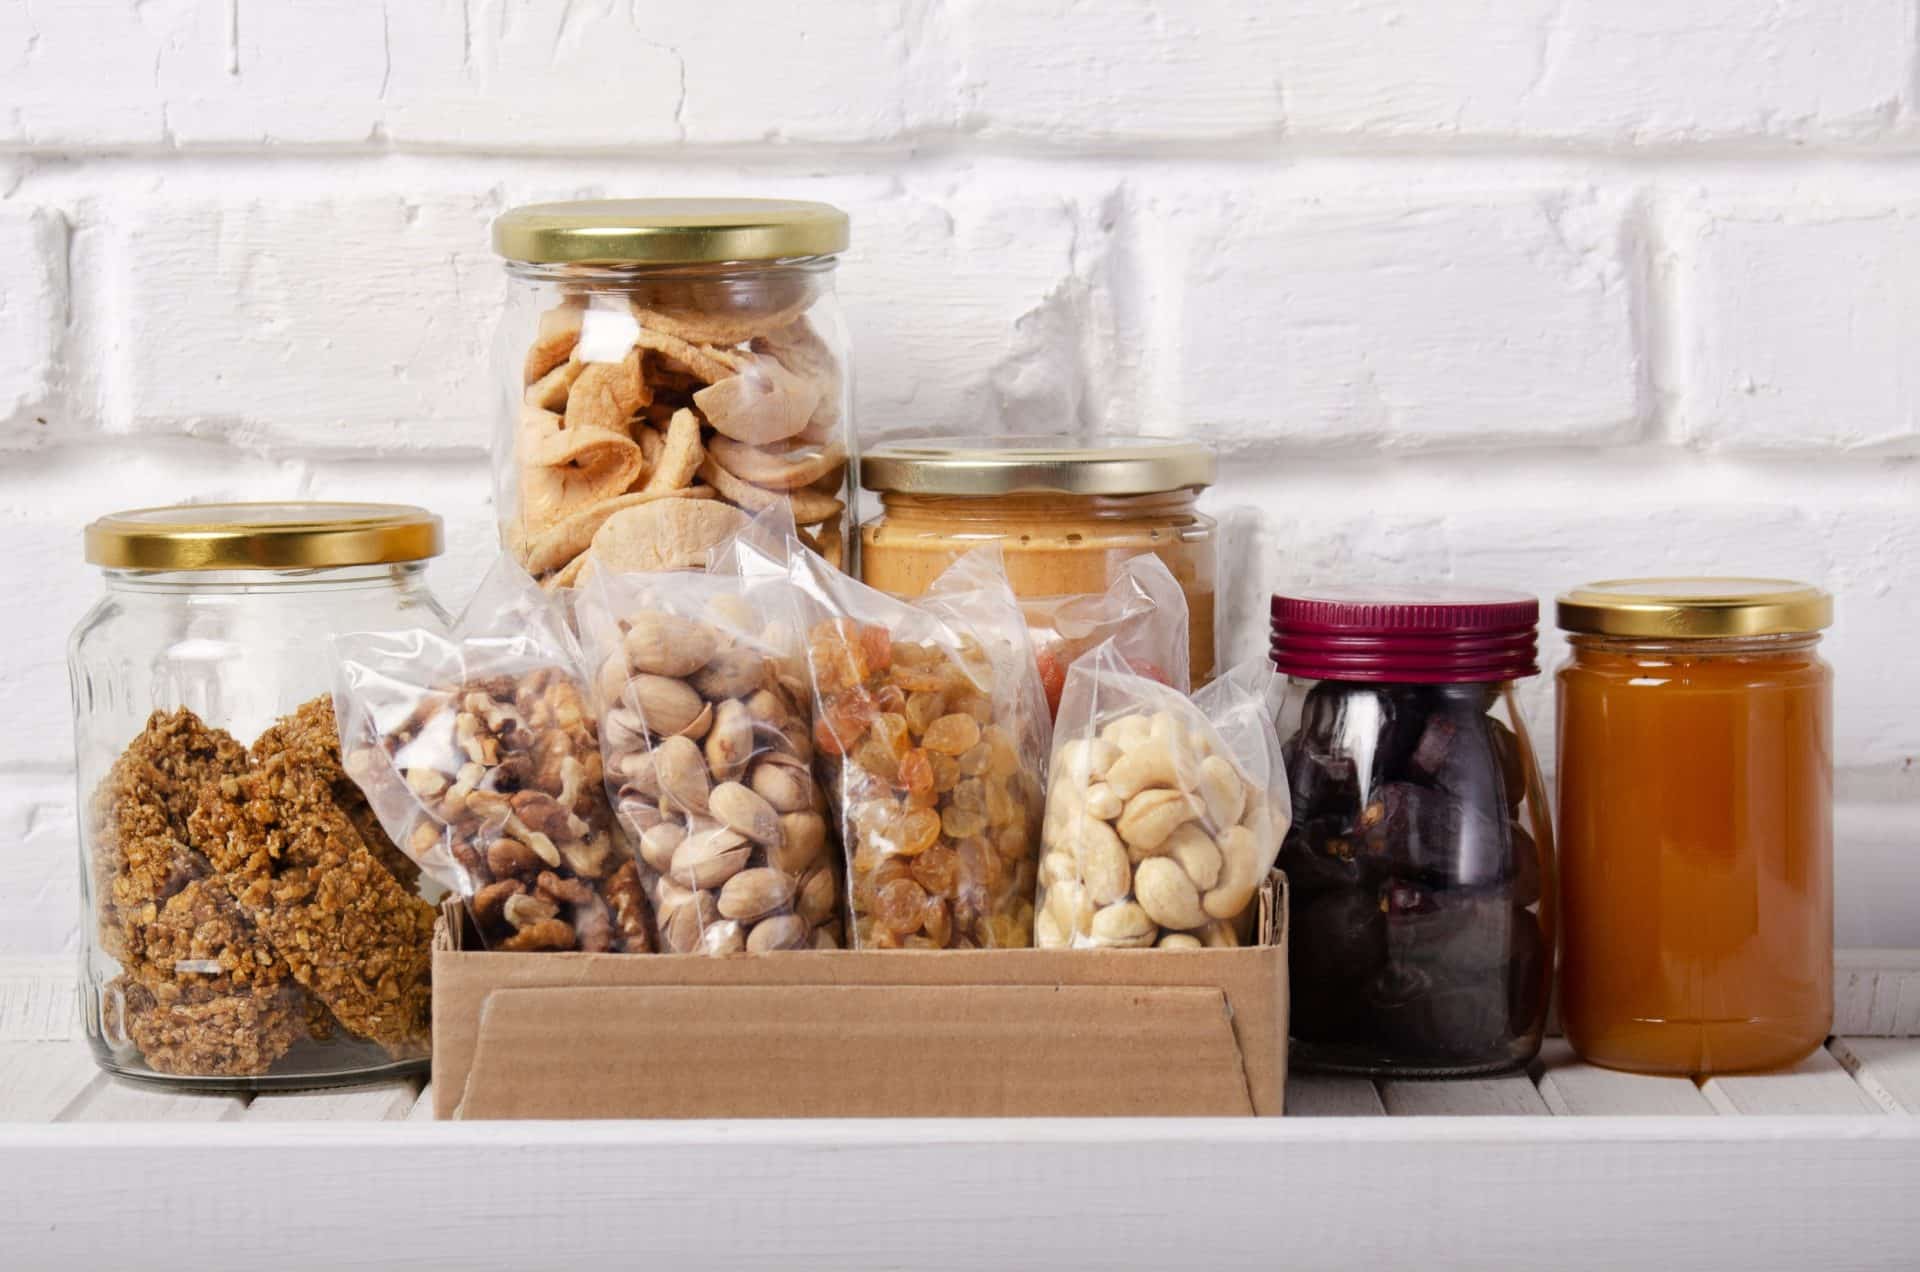
To decant or not to decant? That is the question
-
Hit the major food hot spots first: refrigerator & pantry. Take everything out. Toss the stuff that is: old, expired, never going to be used (be honest!) Then put everything back but pay attention to grouping categories together (especially in the pantry) so that when you go in to get a can of tomatoes you will see ALL of the available options in the tomato category. What about organizing products? Products are great but before you buy anything you need to make sure that you’ve removed what you don’t need and identified your categories (including ‘Miscellaneous’, a category you will undoubtedly have despite the pictures you see of beautifully organized pantries and fridges on social media.) Remember that the products take up space too so first you have to clear the way by decluttering. There are many bin and cannister options out there to keep things contained and make them look pretty but before you go crazy shopping for cannisters and making labels make sure you are committed to decanting every time you buy something that is going to go into the cannister. You have to be committed because it’s extra work to decant and if you don’t do it you will end up with more clutter, which defeats the purpose! My 2 secret weapon organizing solutions for the kitchen are risers and Lazy Susans. The risers are specifically for the pantry but a Lazy Susan can be employed in the pantry or the fridge and will really help keep things visible and accessible. Game changer!
-
Next are the cabinets. Again, take everything out. Is everything stored within easy access of the area in which you use it? Make an assessment, for instance are there potholders in a drawer close to the stovetop & oven? If you make a smoothie every day for breakfast is your blender with easy reach of the counter where you plug it in? Are the pots and pans stored near the stove? Bakeware & casseroles near the oven? Measuring cups handy? You get the picture. The most-used small appliances should be the most easily accessed, everything else can go up high or down low. Anything you don’t use at all needs to go to make room for the things that will need to be stored in Step 4. Also – anything that does not really belong in the kitchen should find a home elsewhere. Examples are party-decorations, table linens and serving trays – these things often find their way into the kitchen but are too bulky, awkward or infrequently-used to take up valuable kitchen cabinet space.
-
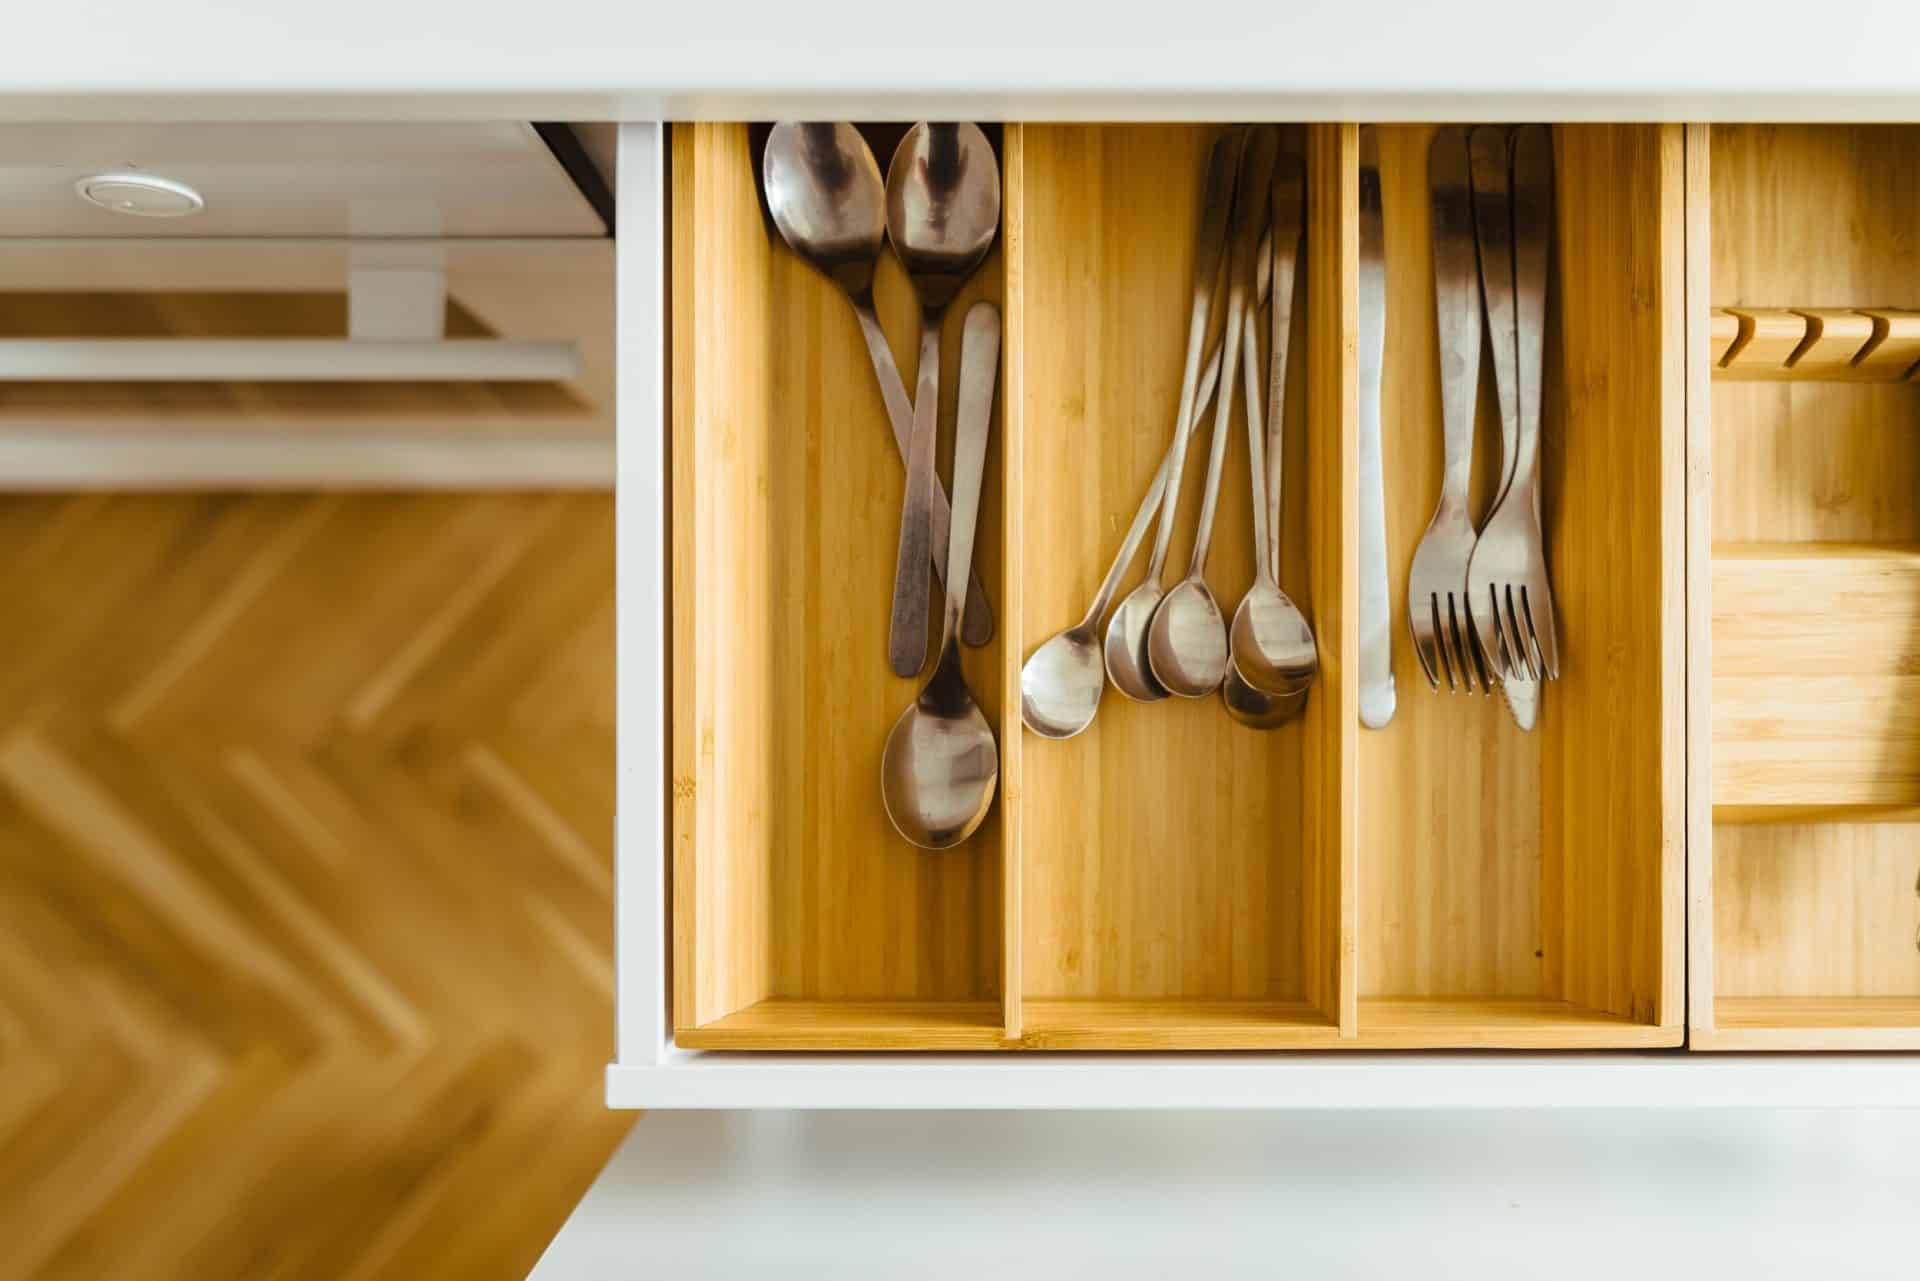
Leverage your drawers. There are lots of things that normally sit on a counter far away from where they are actually used that could be housed in a drawer. Spices and knives are good examples. In addition to the very helpful bamboo drawer organizers that you can get for your flatware and utensil drawers there are solutions for things like knives as well. Drawers are very easily accessed and if properly organized what you store in them will be very visible so use them for essentials wherever you can.
-
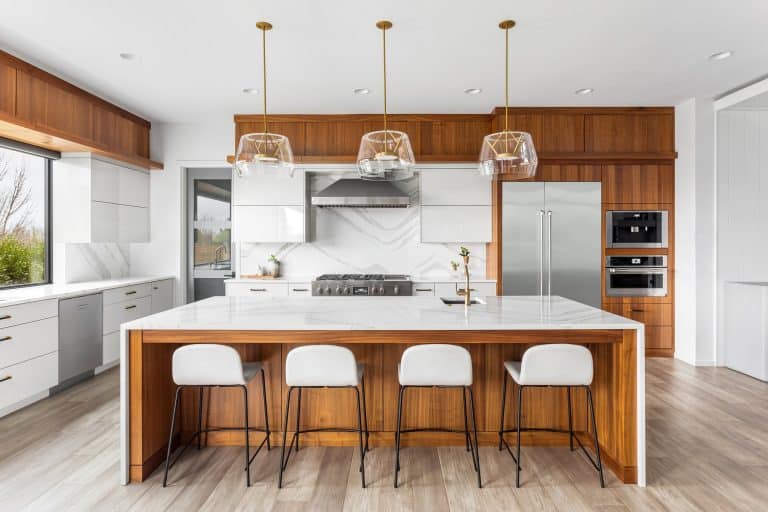
Maximize your counterspace by taking a minimalist approach. Only the most used items (like the toaster for instance) get to stay on the counter, the rest should be out of sight. This approach will leave you with a wonderful feeling of serenity and lightness every time you enter your kitchen but you have to be ruthless with your decluttering to make it happen. Another rule I employ in my own kitchen is if something is going to reside on the counter it has to be functional AND beautiful to look at. Example: I make sure my condiment dispensers (salt, pepper, olive oil, etc.) are beautifully designed. I use a small tray to house them which gives the impression that they are a very intentional group, sitting there together (pro tip: trays are a secret decorating weapon)
-
High cabinets – make sure you can get into them. No matter how tall you are high cabinets can be a pain to access but if you are maximizing your kitchen storage you need to use them and often for things that get more than just occasional use. You will be more likely to access the things in those super-high cabinet shelves if they can be easily accessed with a step-stool of some sort. Invest in a nice-looking one that will look nice in your newly-optimized and decluttered kitchen!
Drawer dividers are obviously great for flatware, but there are also innovative solutions out there for other categories like knives
Once your kitchen is appropriately decluttered at organized you will want to get in there and start using it! It will even be a pleasure to clean up! And you will have momentum to move on to your next project: The Family Room. See you next week!

