Spring Cleaning Method: Bath Edition
As an Amazon Associate and member of other affiliate programs, I earn from qualifying purchases.
Time to turn your bath into a luxury retreat
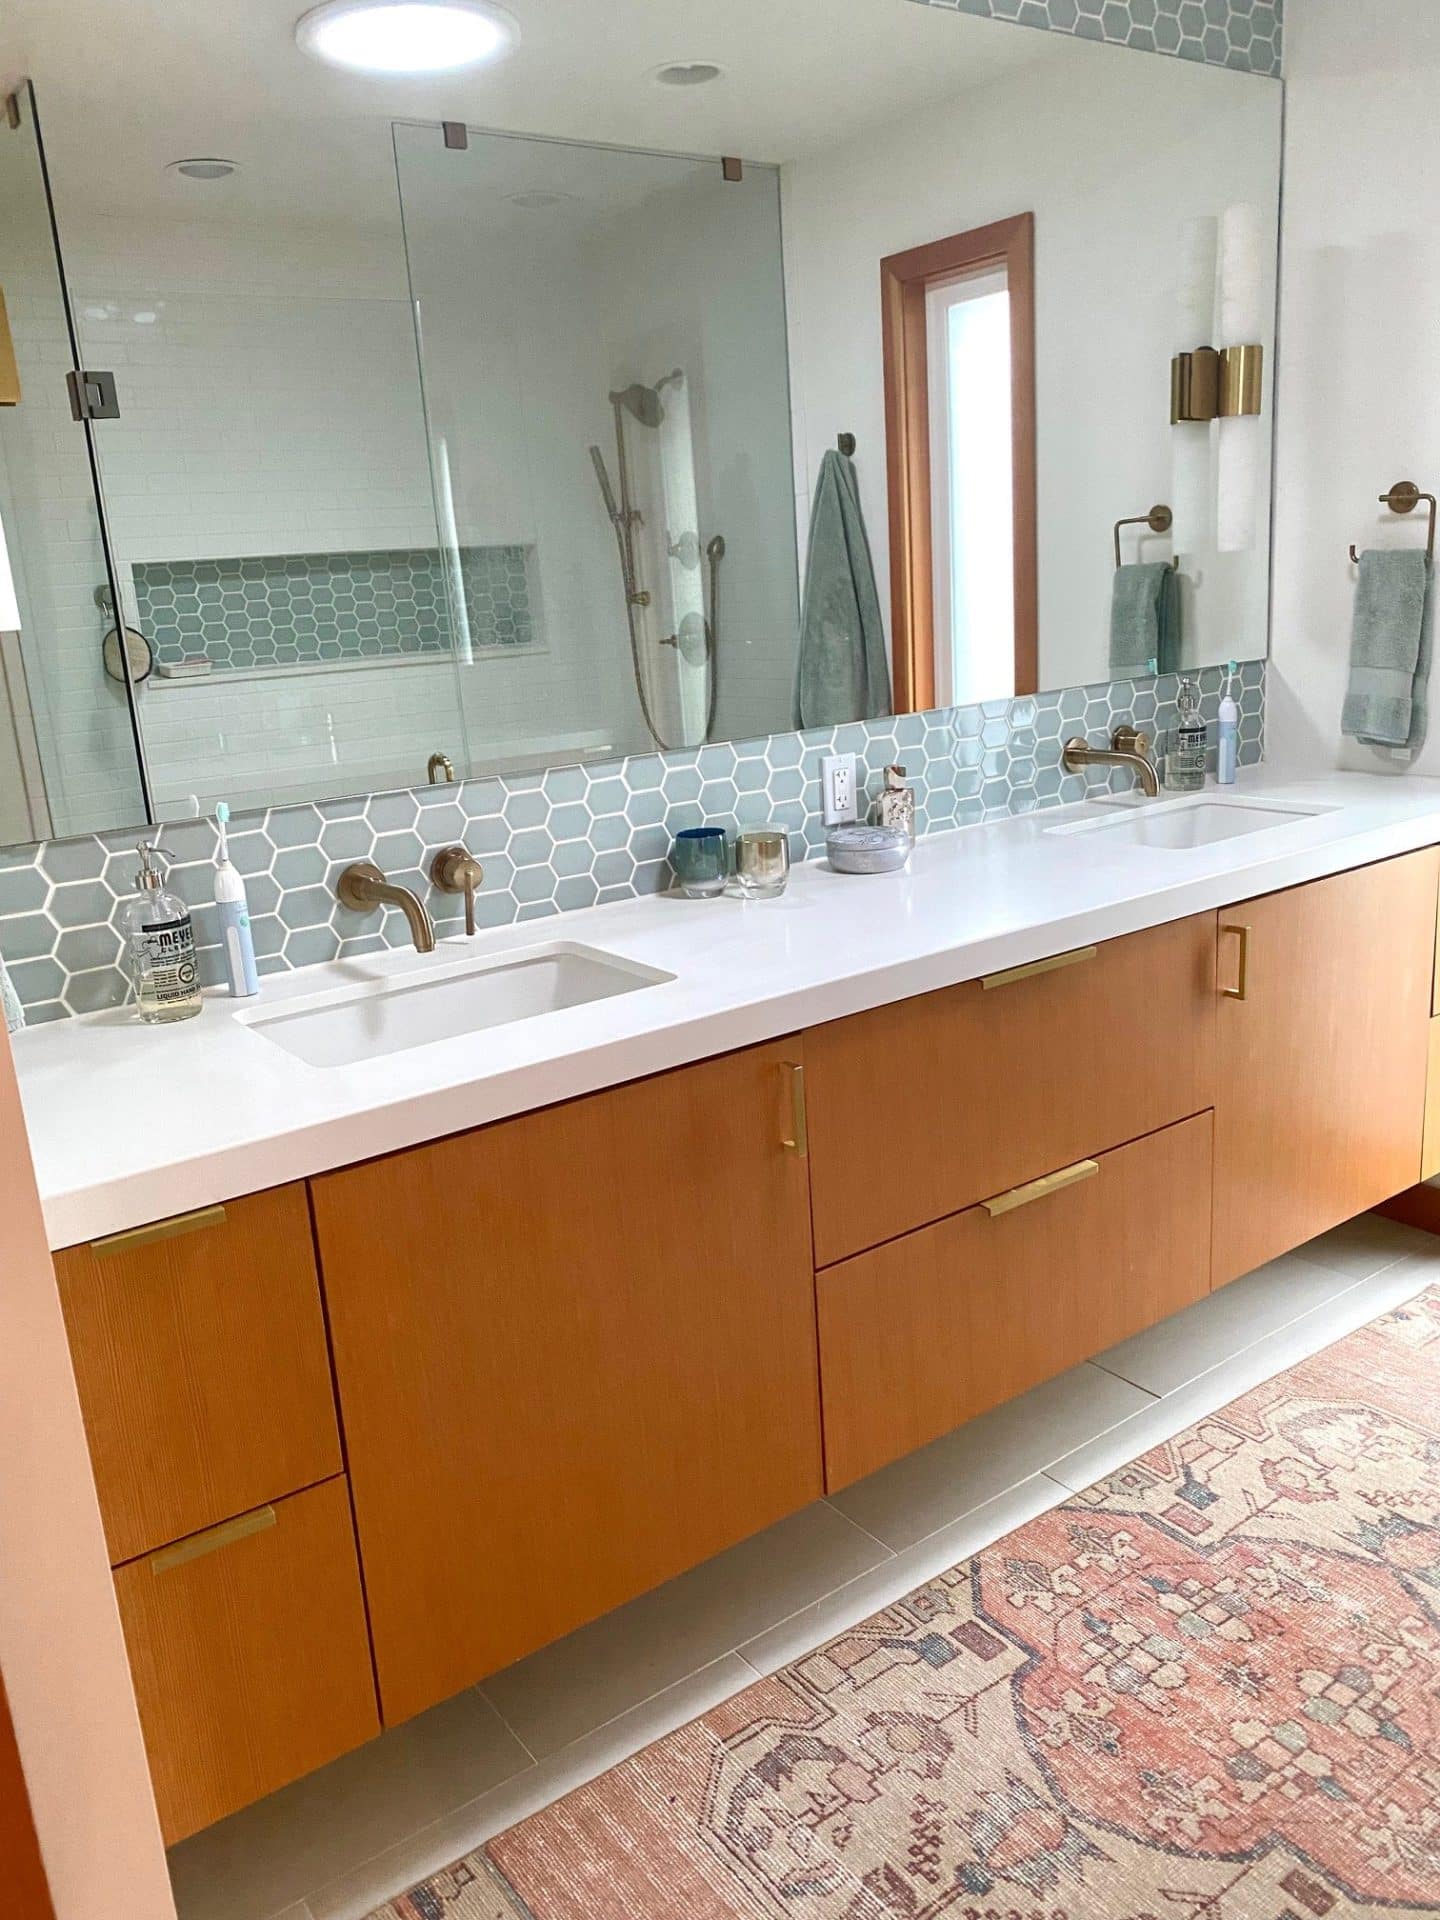
I could really feel the turning of the seasons this week as our temperatures here in the PNW got noticeably warmer and we were spared continuous rainfall for a few days in a row. Warmer, dryer weather means our Maui trip is on the near horizon and the days are blissfully longer. The clearer, brighter skies also mean that our Primary Bath is bathed in soft, diffused light from the solar tube we put in when we remodeled a few years ago, it’s a lovely place to spend time. And I did spend quite a bit of time in my bathroom yesterday as I was prepping for this post, having decided to put my money where my mouth is by doing a full Spring Clean. The method I’m recommending below has been tested and proven effective in my own bath and the steps apply regardless of the size, shape or orientation of your own toilette. It works for all baths in your home but the Primary Bath will be the biggest job so I suggest tackling it first; after it’s done the others will be easy!
The Primary bath is one of the most important rooms to organize (after Kitchen, Family Room and Home Office.) It’s a private space where you spend time on self-care and should be a room that gives you a sense of calm every time you enter. Giving your products room to breathe, using texture in storage solutions and creating surface areas free of clutter are all strategies that contribute to a spa-like atmosphere, that’s our goal with this Spring Cleaning Project! My Spring Cleaning Method includes 4 steps; if executed effectively you will be left with a bath you’ll love to spend time in; a place for relaxation, reflection and self-care rituals.
step 1: clear out & purge
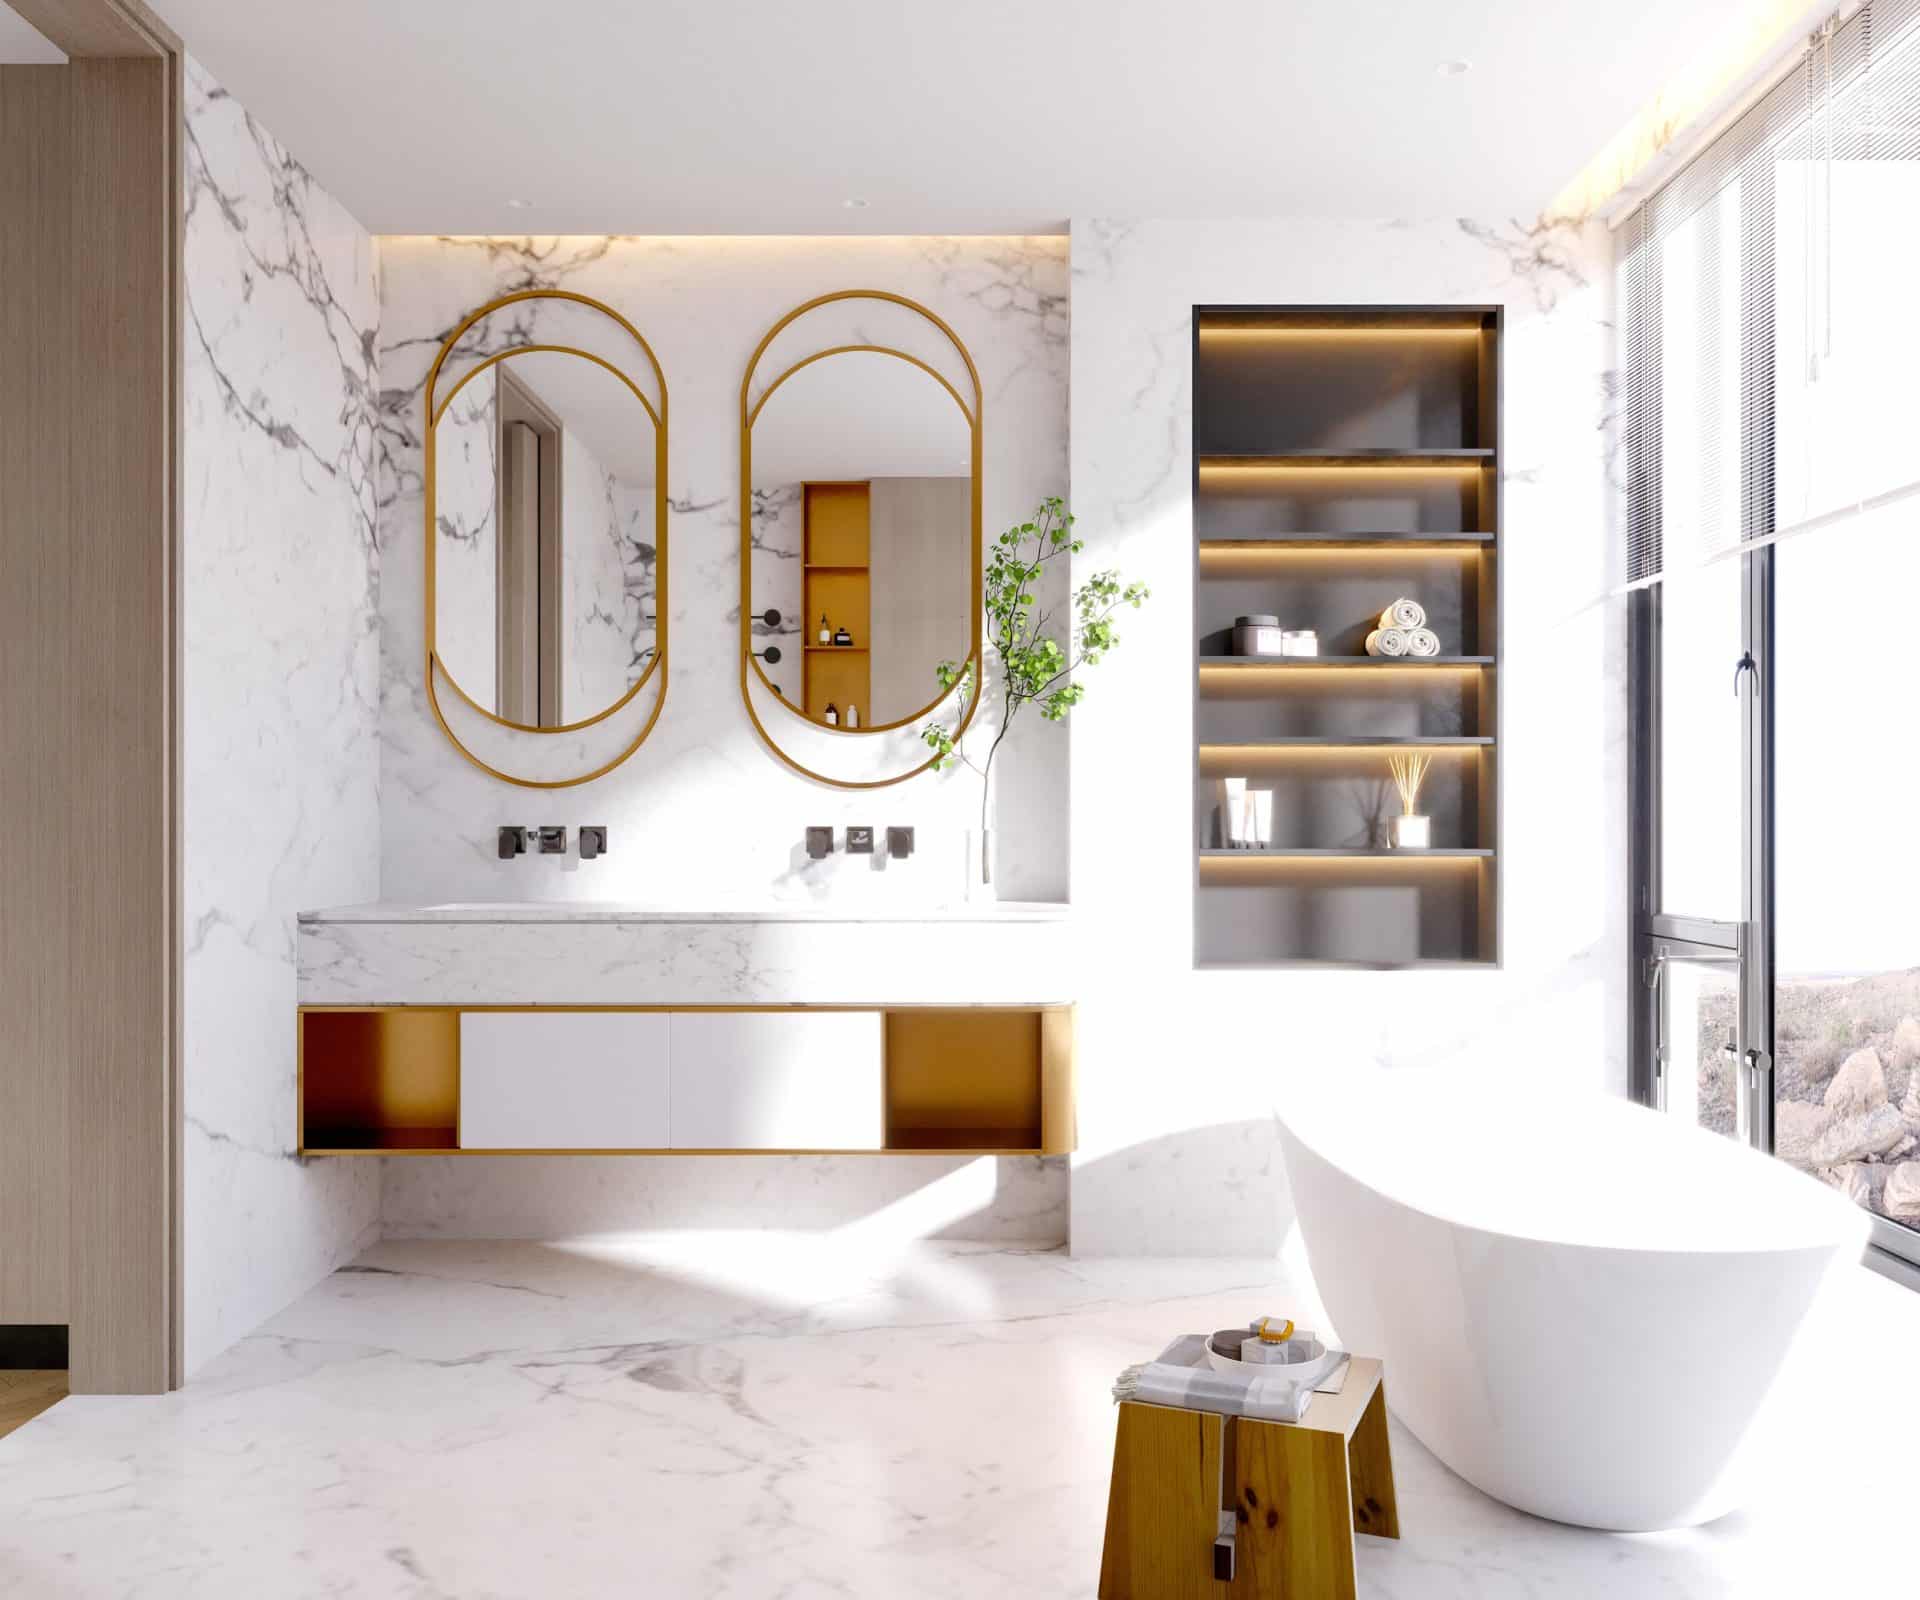
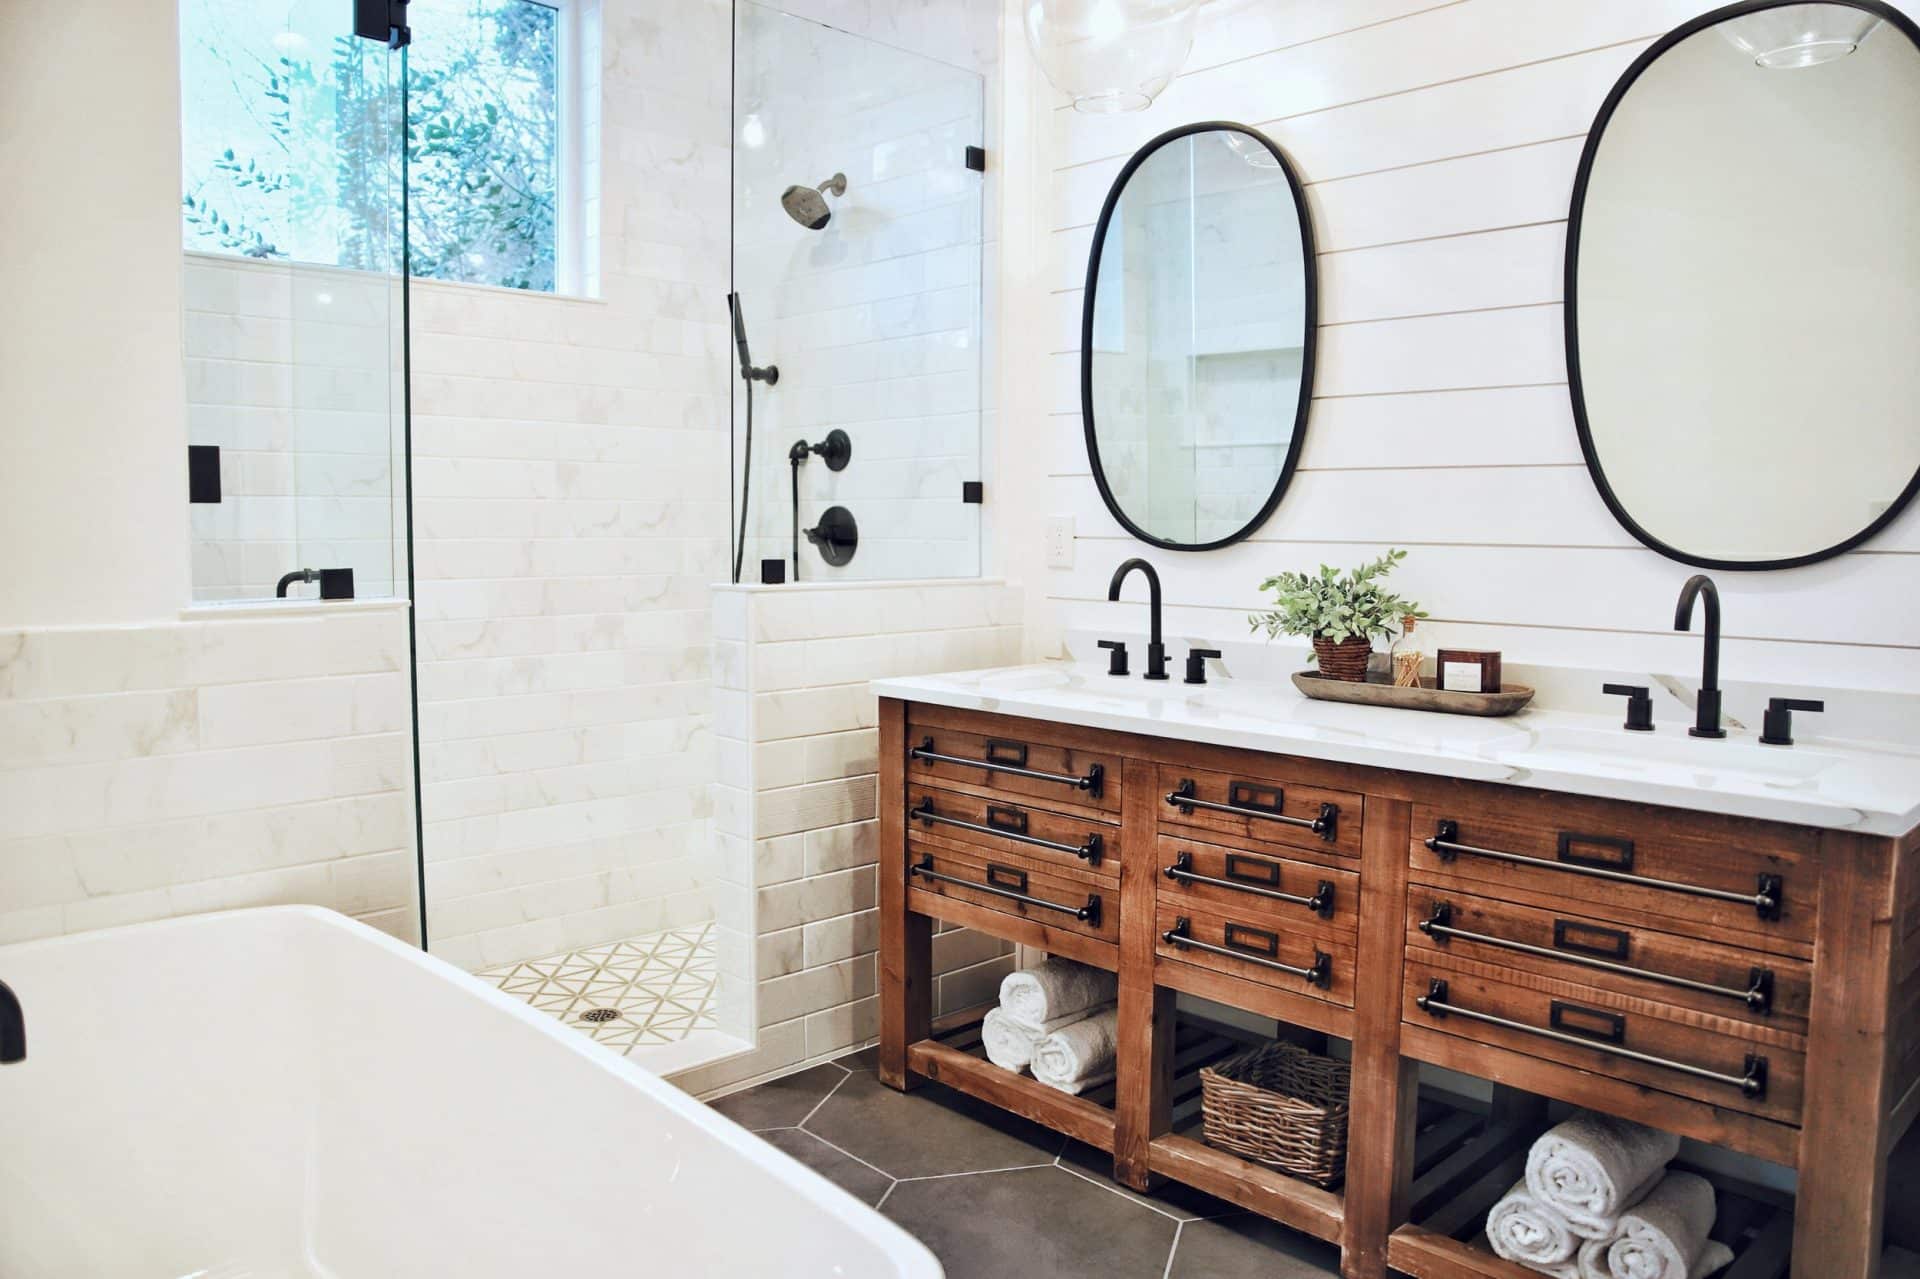
In order to achieve a look like this you need to first take everything out and purge
Since there are very clear outcomes you are trying to achieve with this Spring Clean (see Spa notes, above) the first thing you should do is start with a clean slate. That means take everything out. Yup, I said everything. I spread a couple of old towels on our bed and used it as the dumping ground so there was literally nothing left in the bathroom. This may sound excessive (why not go drawer by drawer?) but the idea is that you want a totally blank canvas when you begin. Take a moment to look at the room (and its storage spaces), maybe even snap a photo so you can remember that look of bare, minimalist space.
Okay now it’s time to survey everything you just cleared out – you likely have some major purging to do. Most clients that I work with haven’t gone deep on the stuff they store in their bathroom and the stuff has been building up for years. In my own case we remodeled less than 3 years ago and things were still fairly organized from the move-in (or so I thought) but when I actually took everything out of the drawers I found a ton of products I wasn’t using (does anyone else’s children give them bath salts?) plus dust/makeup build-up on almost everything, even if it was closed off in a drawer.
Easy Purge Categories
-
Beauty Samples – In my former life I had access to a ton of beauty samples. I used to toss them into my travel bag to use on trips. Except I rarely used them and they continued to accumulate, to the point that I could no longer fit my brush and other essentials in my travel bag. Ack! So toss those samples, you will never use them and they are taking up space (also make note to pass on samples in the future so they don’t start breeding like rabbits in your bag!)
-
Old Makeup/Skin Care/Hair Care products – Some people are really into products and others aren’t, either way you probably have settled on a few key products that comprise your routine for skin care, haircare and makeup. These products are used daily or several times a week and when they run out, you buy more. You may even have a replenishment system where you carry some backup so you don’t get stuck when you run out. Identify these products and set them aside. Everything else should be reviewed with brutal honesty and if you haven’t used it, toss it! I had many (what I’m sure were amazing) face cleansers that I never used. My Beauty friends will gasp but I wash my face in the shower and aside from that I use eye cream and moisturizer on my face and that’s it. Why was I carrying all of these cleansers? My daughter is a skin care junkie and I ended up passing off most of the product to her so it didn’t go to waste. After this purge I already felt lighter!
-
Candles – This isn’t a big category for me as I almost exclusively use glassybabies. But for many of my clients candles are a big clutter category – people (kids!) love to give them as gifts and many like the idea of a bath by candlelight with delicious scents floating about. There are likely candles that have been sitting around for years because A) you don’t care for the scent or B) you don’t really use candles in the bath like you thought you would. In either case, time to purge the candles!
-
Cleaning Products – You want to avoid your under-vanity area looking like the space under your kitchen sink, where products tend to accumulate as you forget what you have and replenish things that don’t need replenishing. You are going to want the extra space those products are taking up so edit the category down to just what is regularly used.
You will likely have some purge opportunities that are unique to you; make sure you go through everything you have with a fine tooth comb – you want to be really picky about what gets to re-enter the bath. The good news is that the bathroom isn’t generally a room where there are a lot of sentimental-attachment items that are hard to part with. I forgot to mention in the intro that you should absolutely come prepared for this project with a big garbage bag!
step 2: categorize
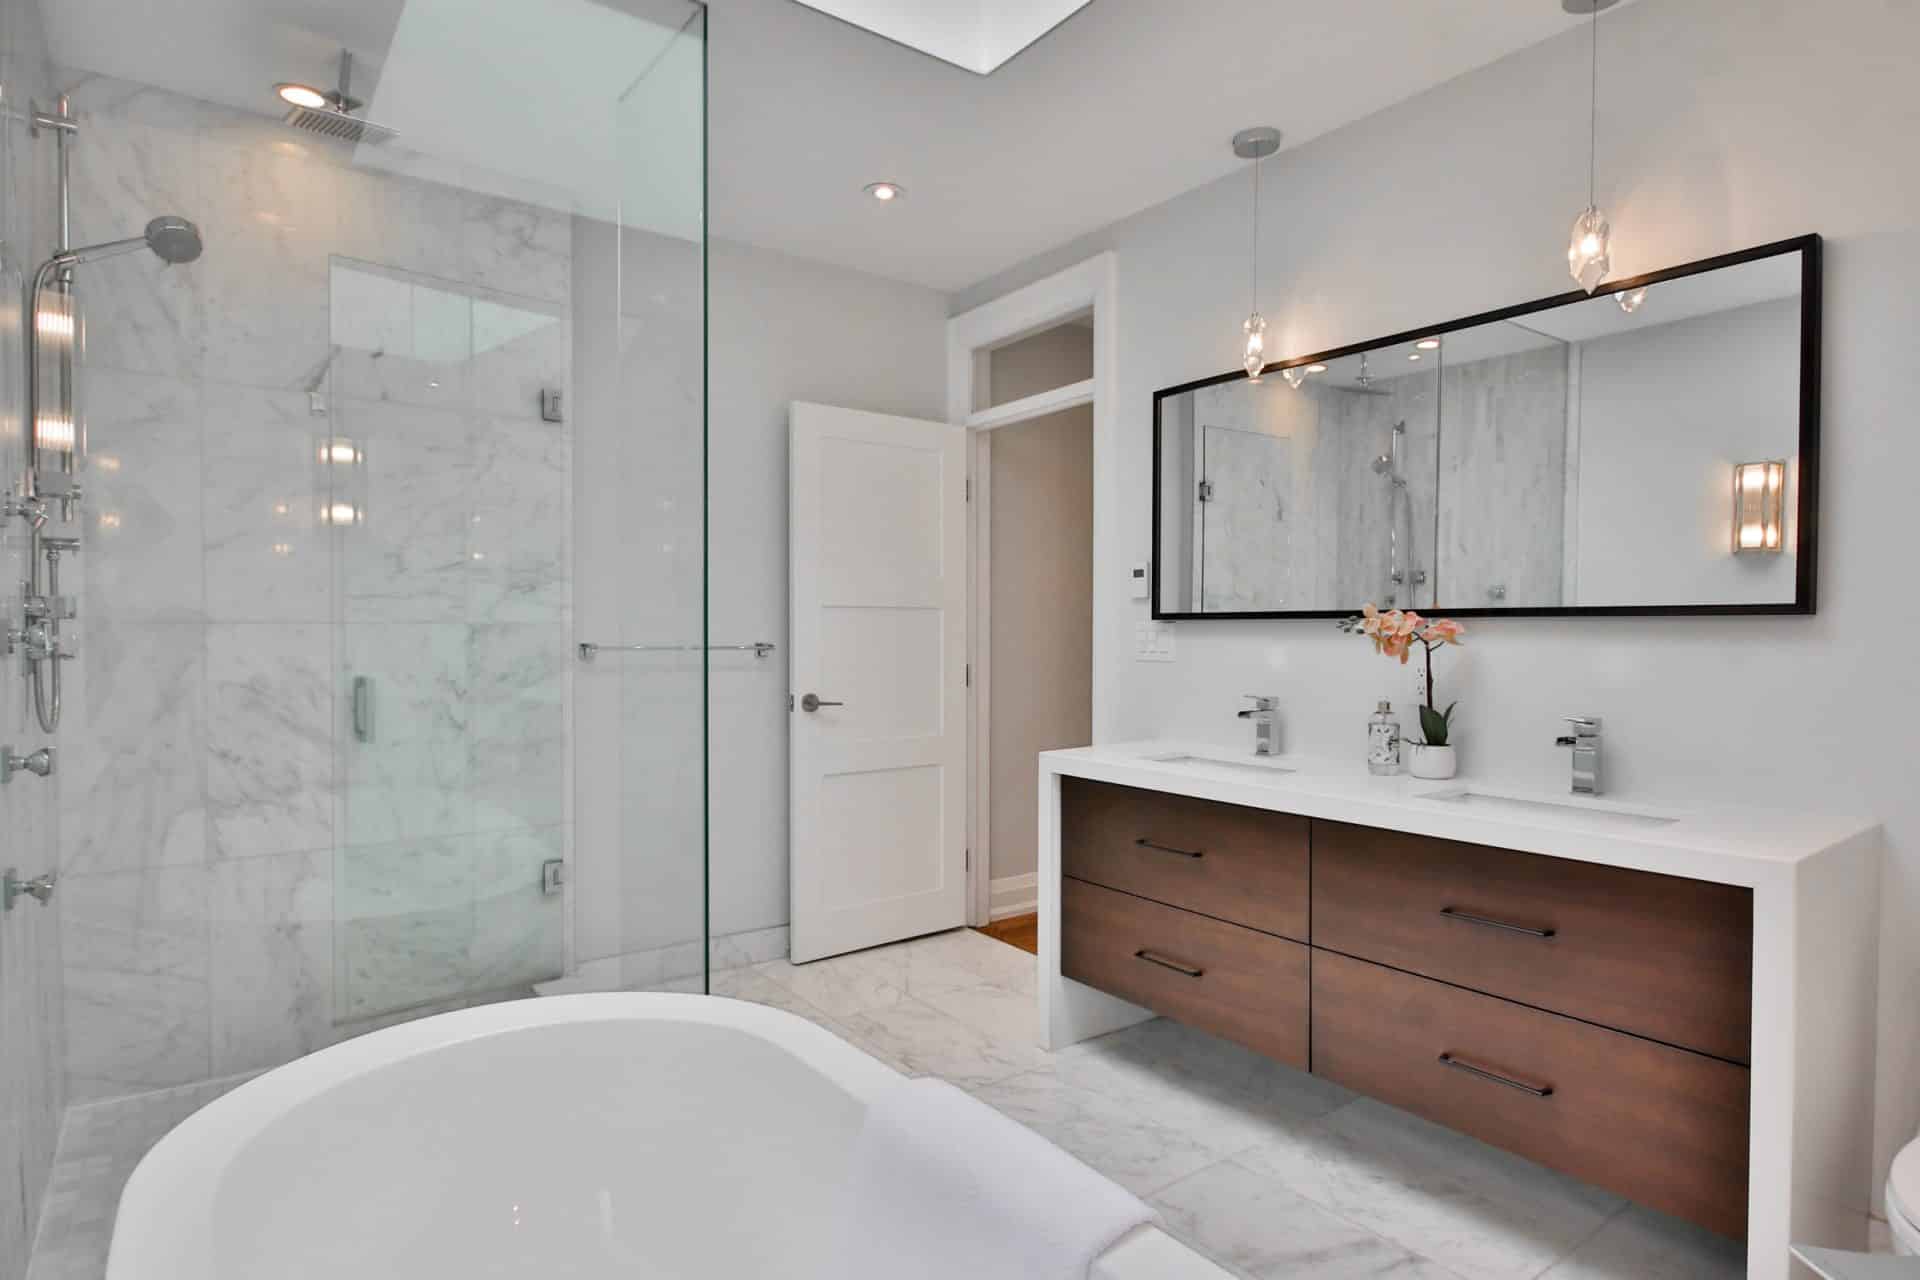
Before you go research storage solutions you need to get a visual of your categories
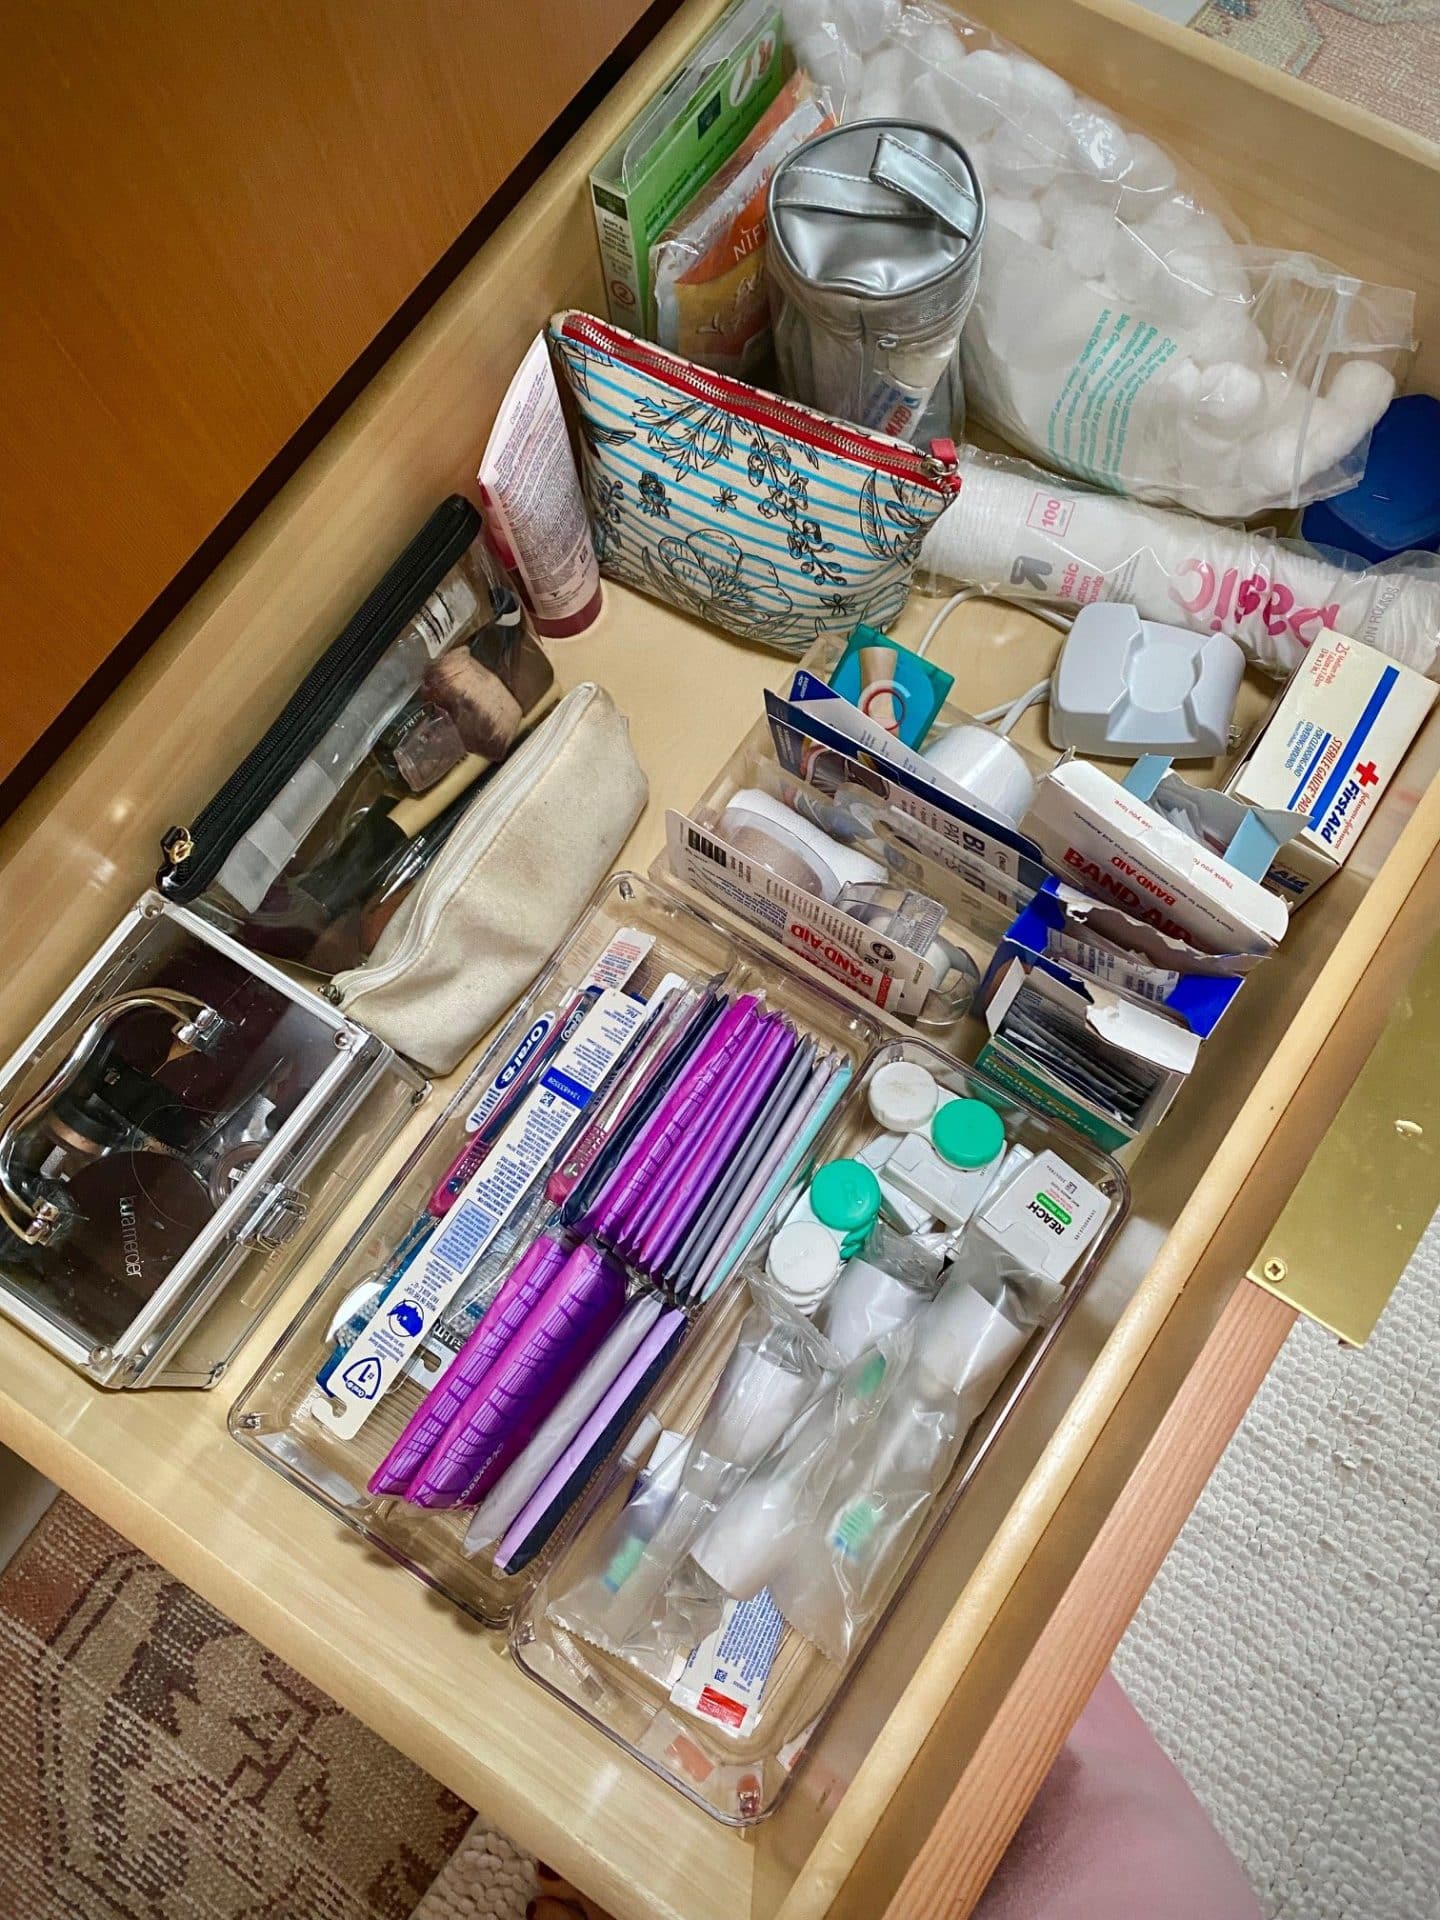
Now that you have substantially less stuff to deal with it’s time to categorize. You may already have your categories loosely grouped together (makeup, hair products, teeth hygiene, etc.) but now you want to get a little more specific as the size of your categories is going to drive your storage needs – you need to know how much is in each category before you purchase any products. One important significant category in my bath is Band-aids. I’ve always kept the large supply of someone who has a lot of shoes (#blisterprevention) but before I started this project I had no idea how many Band-aids had built up, I literally had 8-10 boxes in multiple sizes and shapes. It was important for me to edit down the category by condensing boxes and also corralling some of the Band-Aid-adjacent items like gauze pads & tape since I wanted to store them all together. As you are categorizing I recommend making note of daily-use items vs. extra (let’s call it backstock) and occasional-use. When you actually go to organize the space you may choose to store items in the same category separate from each other to prioritize all of the stuff that you use every day in your design.
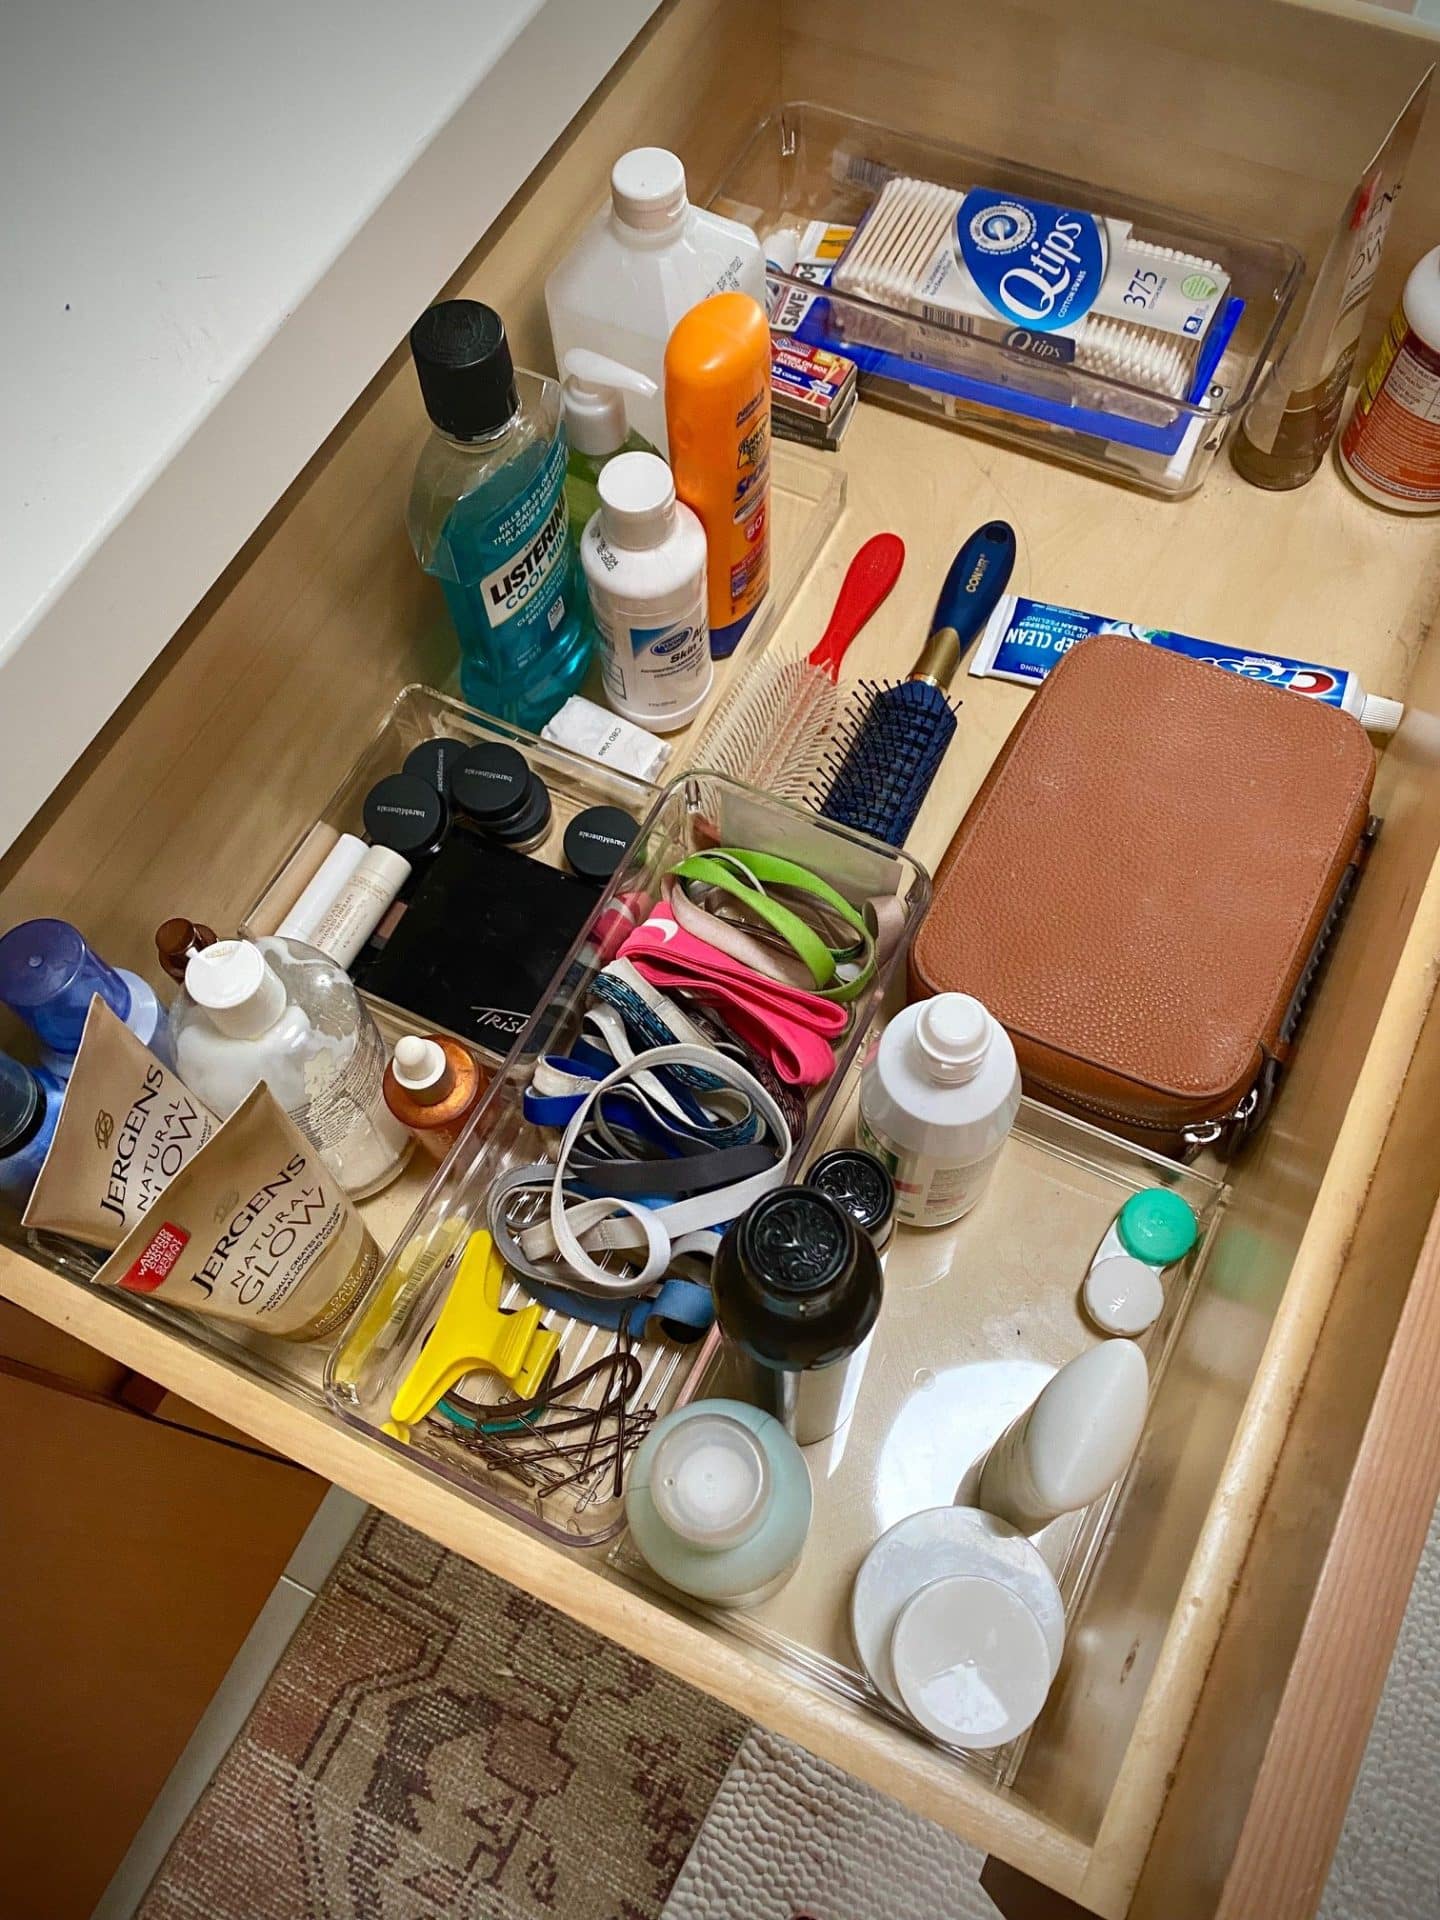
My categories are as follows: Daily Use Skin/Hair/Eyes, Headbands, Seasonal Hair/Lotion, Makeup Backstock, Antiseptic, Misc Handy items (QTips, Nail Clippers, Speciality Floss, etc.), Toothbrush Backstock, Kleenex Travel Packs, Special Occasion Makeup, Band-Aids (!), Mani/Pedi Misc.
Yours will likely be different but you get the idea; you want to set things up so that the most important things are the most easily accessible.
step 3: Organize
There are so many options for bathroom storage these days, when shopping remember to keep things as simple as possible
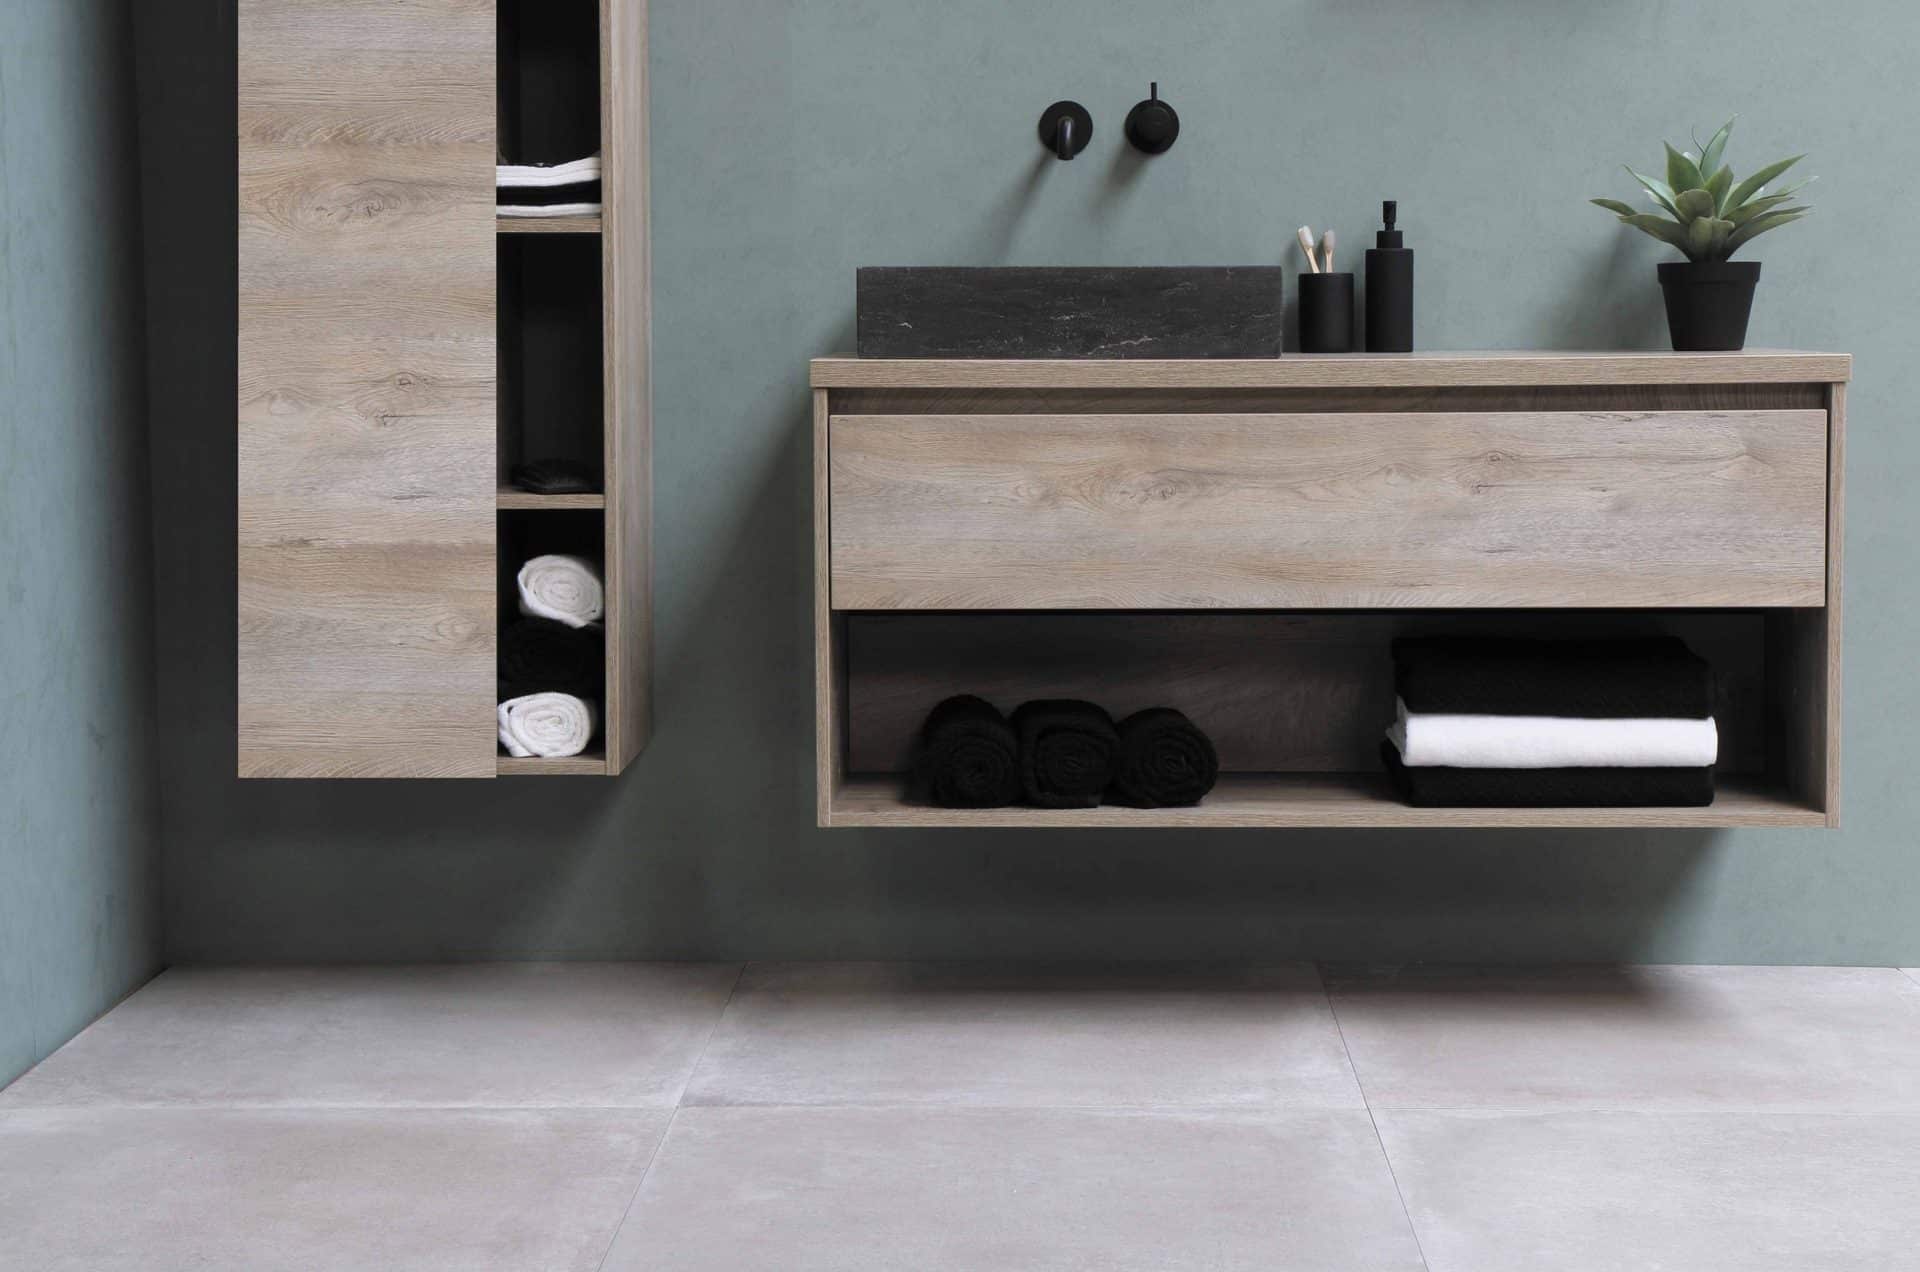
Now you should have a visual of your categories (which are still on your bed or other non-bath surface.) What you are now shooting for is a storage design that keeps as much stuff as possible off of your bathroom countertop. This won’t be possible in all cases but you’ll want to get as close as you can. Whether your storage is in cabinets or drawers there are a variety of storage options that can keep your categories contained and neat. For drawer storage I like storage trays and bins. If your drawer space is limited there are stackable organizers that will help you leverage the vertical space in a drawer, great for storing backstock as well! For cabinets I like caddies and modular bins that will help to leverage the height of your cabinets. I personally prefer the clear acrylic options for bath storage so everything stays visible. As you can see from the links The Container Store has infinite options to choose from! I do caution against purchasing any of the sets until you are clear on what your needs are, the last thing you want is a bunch of extra bins hanging around taking up space! You should design your layout to optimize for convenience, which means Daily Use items in the most accessible spot. Backstock or Occasional Use do not need to be right at hand if you don’t have the extra space, move them to a lower drawer or higher cabinet. If you have more Daily Use items than drawer/cabinet space you can move a couple of things to the vanity top, but this should be a last resort!
If you have the enough storage I do recommend keeping your backstock of towels & toilet paper in the bath, rather than a hallway linen closet. I find it’s infinitely easier to keep the plethora of household towels organized and easy to find when each bathroom is the keeper of it’s own towels. In our house the kids do their own laundry, including their towels (since the towels mostly end up on the floor of their room anyway, despite the numerous convenient hooks available in their bathrooms!) and it works out nicely, everything stays contained in it’s own zone.
step 4: Enhance
Visual elements complete the look of your newly organized bath
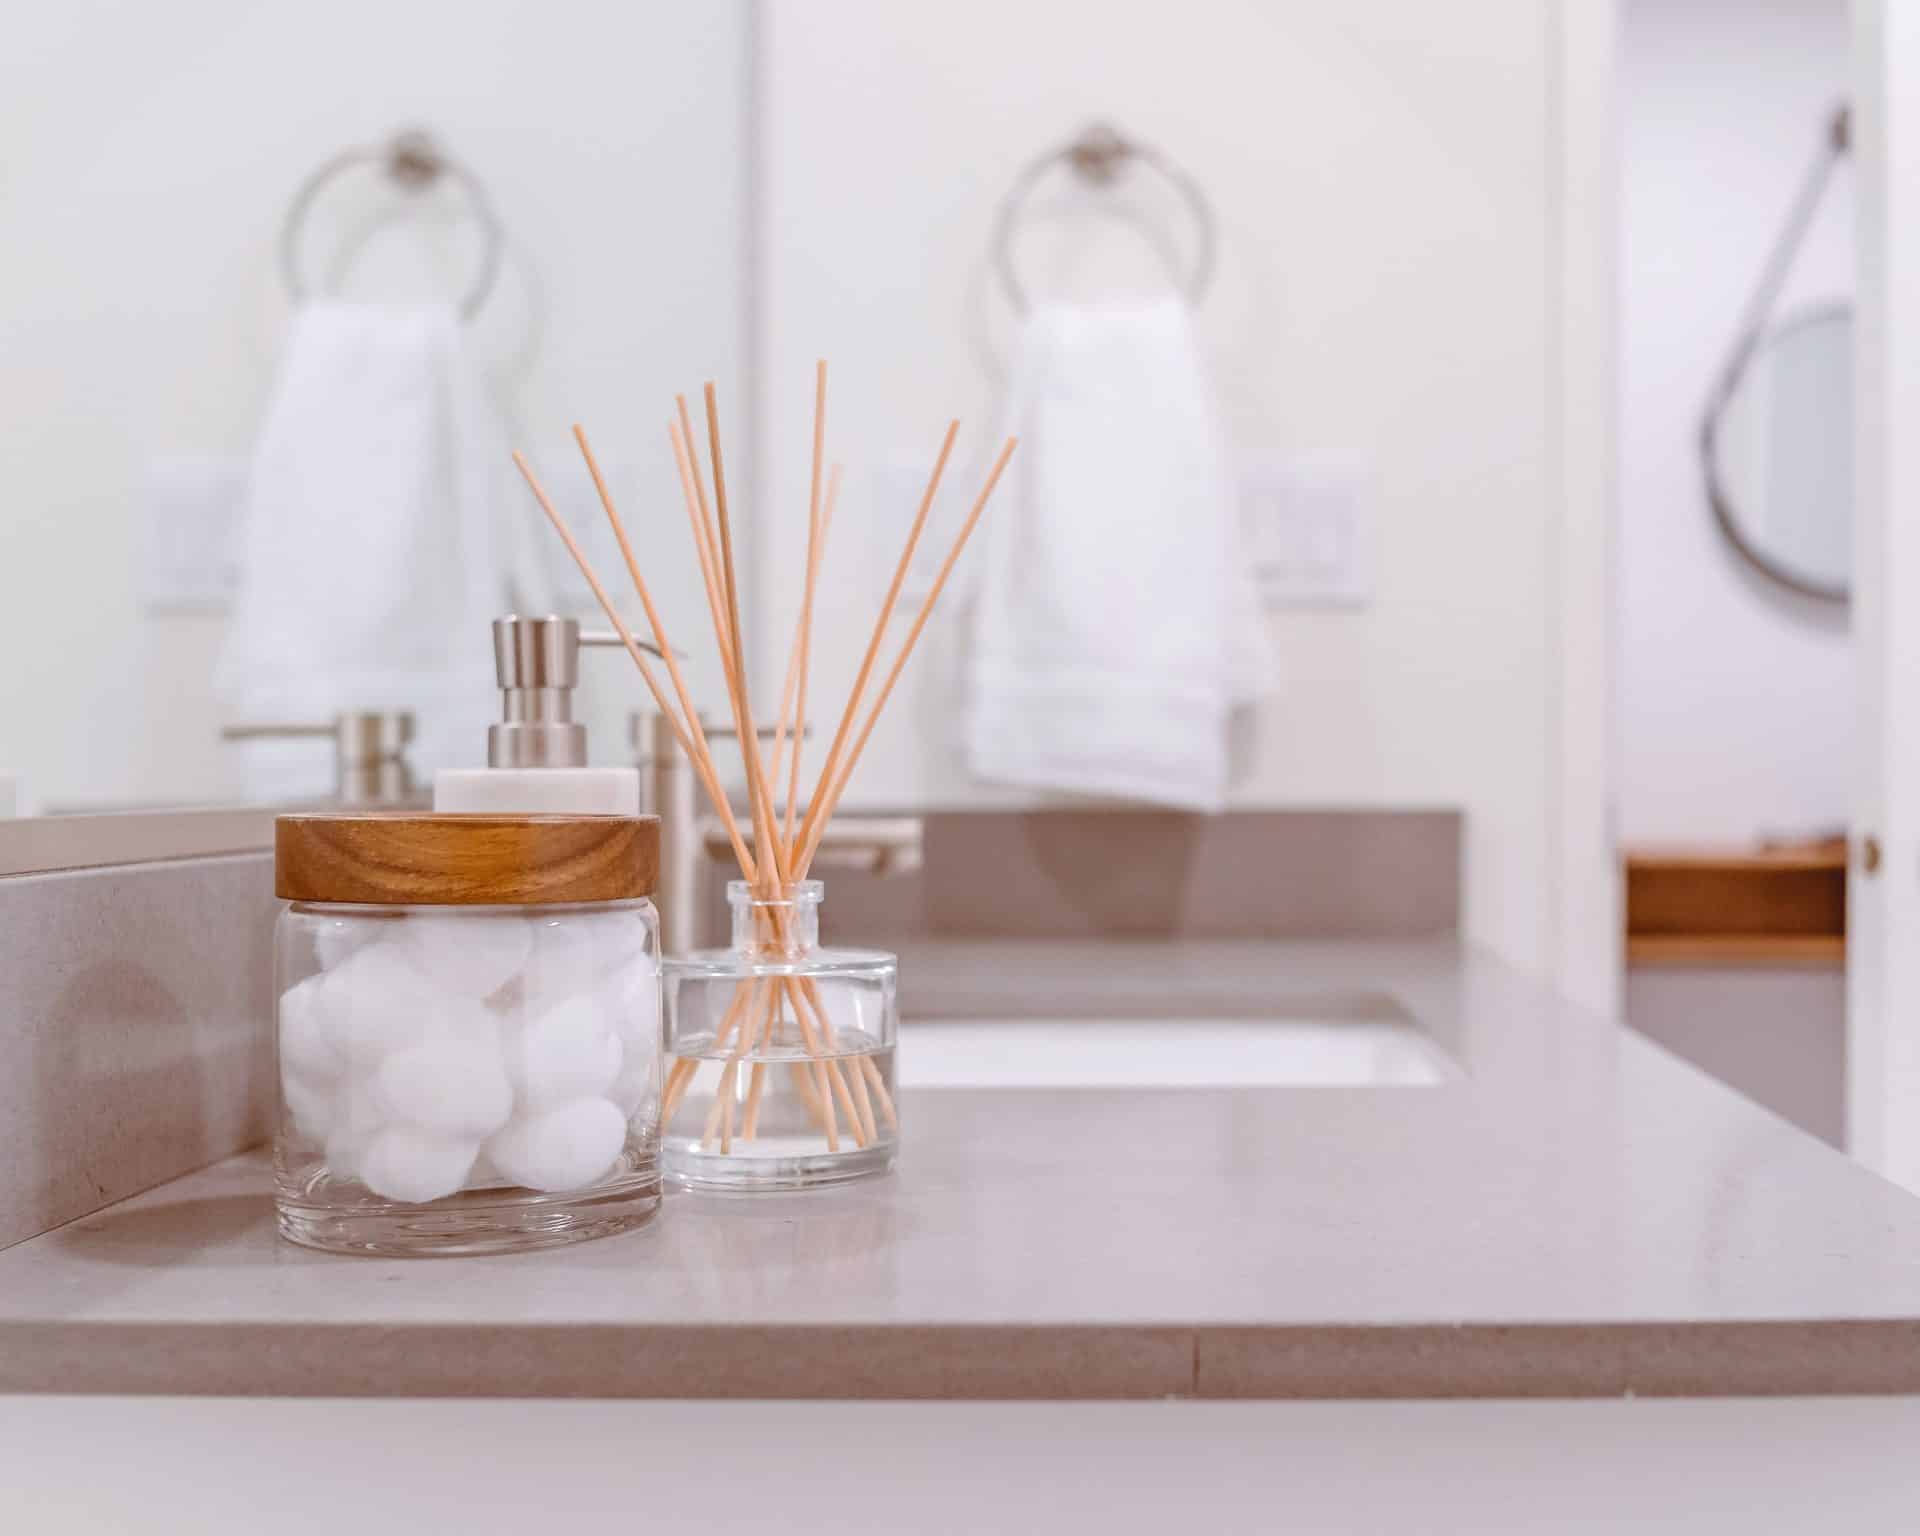
Now that your things are all neatly contained (mostly in drawers and cabinets) it’s time to add a (very) few visual elements that will complete the spa mood in your bath. Since bathroom surfaces are generally hard and cold-feeling, I like to bring in warmer wood bins or basket storage for the towels, washcloths and toilet-paper backstock that is visible on a shelf or under the sink. Small plants also lend a soothing tone and often don’t need to be watered much since they get good moisture from the shower steam. A single candle that can be covered when not in use, like these options from Jo Malone or Voluspa is a nice option for scent, or a diffuser is another way to go. Soap dispensers are a must, there are some really beautiful options available now that can compliment the decor in your bath vs standing out as eyesores.
On our vanity we keep soap dispensers, electric toothbrushes, 3 glassybabies and one candle but most of the honed white countertop that I love so much is visible and clear of clutter. I am always at ease in our bath and it’s a pleasure to spend time in. Check out the fruits of my labor below! Doing a little Spring Cleaning in my own home left me feeling invigorated and excited to write this post. I hope you get the same feeling when you do yours!
If you are enjoying this blog and would like to get more organizing tips and tricks for both home and photos from me, please click here to subscribe to my newsletter. You’ll be able to download my complimentary organizing guide as well and I’d love for you to join the Method Seattle community!

